Growing up in an crafty family, I've always been surrounded by the creative efforts of my mum and sister; naturally, I took to it as well. Collectively, our crafting pastimes include sculpture, polymer clay modelling, felting, cosplaying... Crafting was always more of a hobby than a passion for me, but it was a good way to build creativity and resourcefulness.
Saying that, this was a really fun project for me. With plenty of craft kit and random "stuff" lying around, I was excited to test my skills. It was a good exercise in seeing the potential in different materials; analysing their shape and form, and recognising how to use those to my advantage.
Saying that, this was a really fun project for me. With plenty of craft kit and random "stuff" lying around, I was excited to test my skills. It was a good exercise in seeing the potential in different materials; analysing their shape and form, and recognising how to use those to my advantage.
MASKS
As I mentioned, both my sister and I are avid cosplayers. Before the pandemic, we frequented various conventions, building our own cosplays to attend in. I enjoyed building masks and headpieces in particular, so I was excited to put those old skills to use.
The task was to build a "self portrait mask" that represented us - not necessarily our physical appearance, but our essence. I'm very fond of symbolism, so I was keen on this idea. To start with, I had to think about what my essence was and how to present it. I threw around different concepts until I found one to run with, and settled on a more spiritual take - one that's nothing like me physically, but accurate to my mentality.
Although I'm not religious, I would describe myself as a spiritual person. I identify with many customs in paganism and feel a strong connection to nature, especially woodland. My family like to joke I was born in the wrong era; that I'm more suited to life as a Pictish warrior than a retail worker. Jokes aside, I do struggle with feelings of not fitting into the modern world. I feel like this "old soul" is a big part of who I am, and I wanted to portray that in my mask.
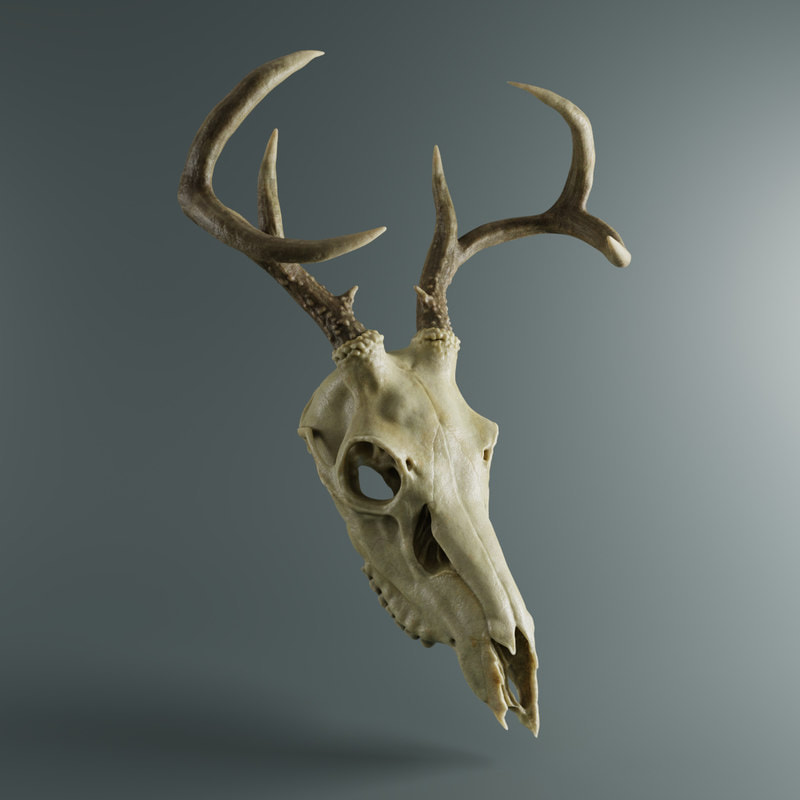
The red deer is Scotland's monarch. He is elegant and regal, but wary and cautious - a prey animal, but very much capable of standing his ground. I have an odd fascination with deer after a few run-ins with roes and reds. Their presence always feels sacred somehow; after all, Scottish paganism champions the deer as a symbol of nature and free spirit. It seemed the ideal way to represent my essence, and I chose a deer skull to symbolise that connection I feel to times long forgotten.
Above you can see two 3D models of a red deer skull I used as reference for this project.
Above you can see two 3D models of a red deer skull I used as reference for this project.
BUILDING THE ARMATURE
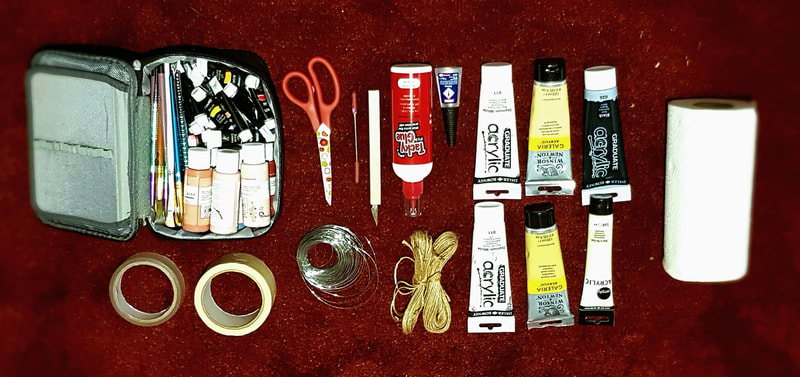
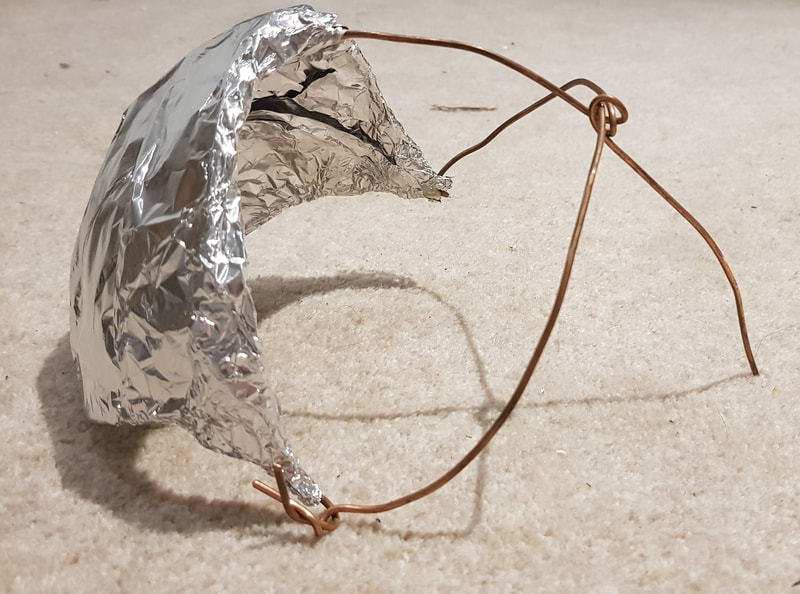
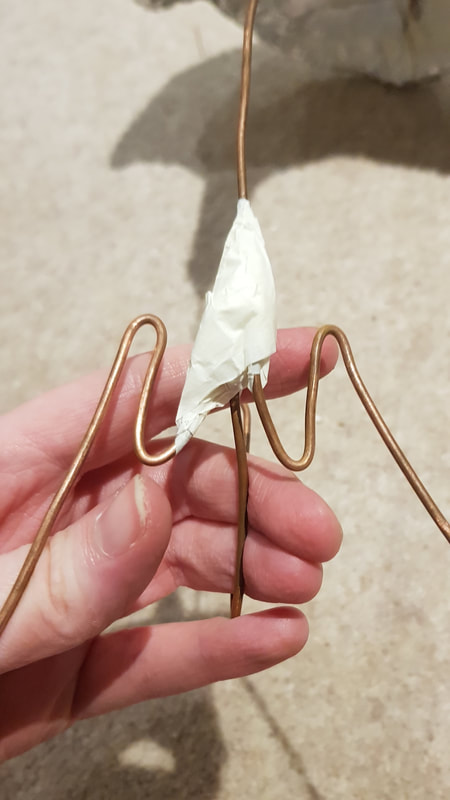
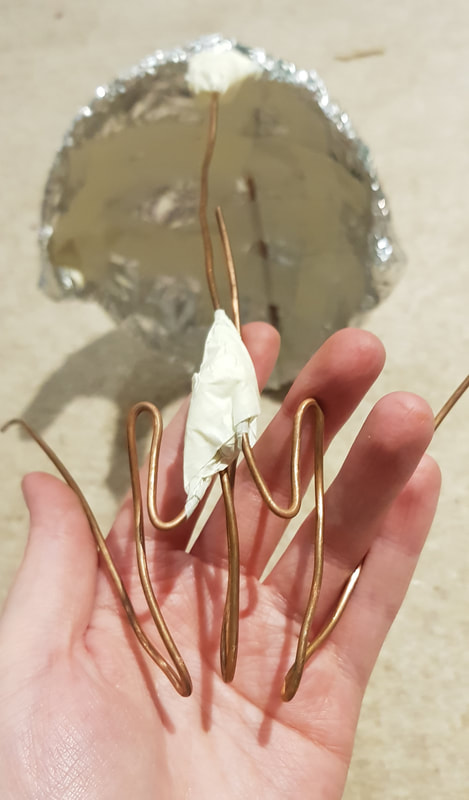
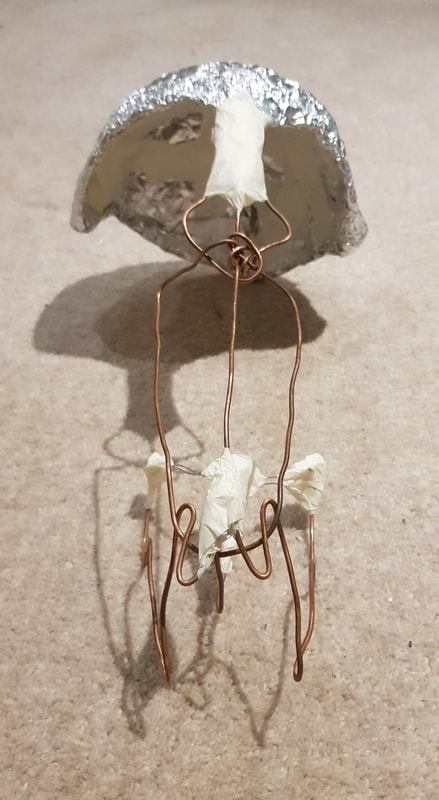
When building my headpieces, I always start with a wire armature. It's useful to have strong but pliable wire, to bear weight whilst moulding to fit the head - here, I used industrial copper wire (admittedly stolen from my partner's workplace, but I'm counting that as 'being resourceful').
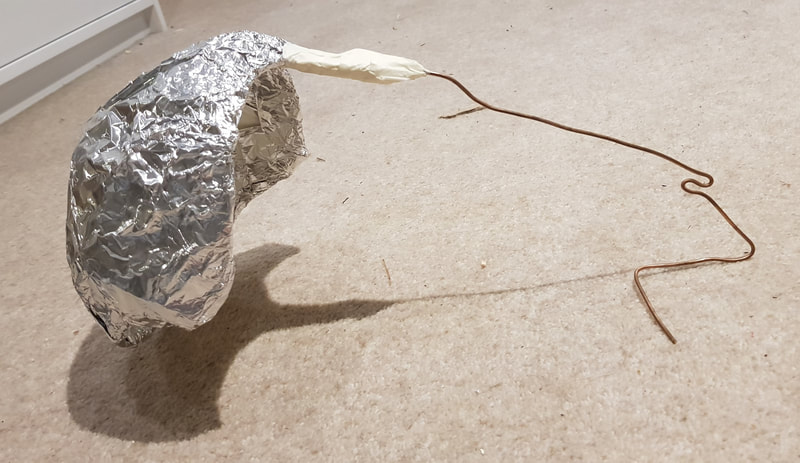
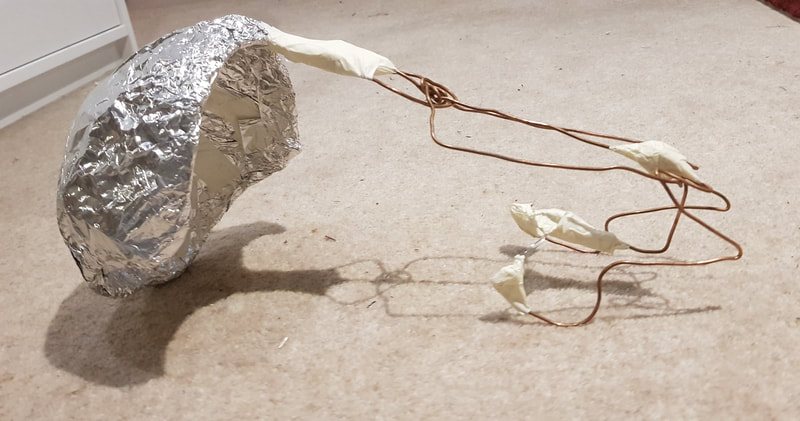
I began with a "backwards glasses" framework. This served as the initial contact point, supported by the ears and curving over the top of the head. After tailoring the fit to my skull, I built in the crown of the mask by securing extra lengths of wire with masking tape - once the rough shape was there, I filled it out with tinfoil "skin".
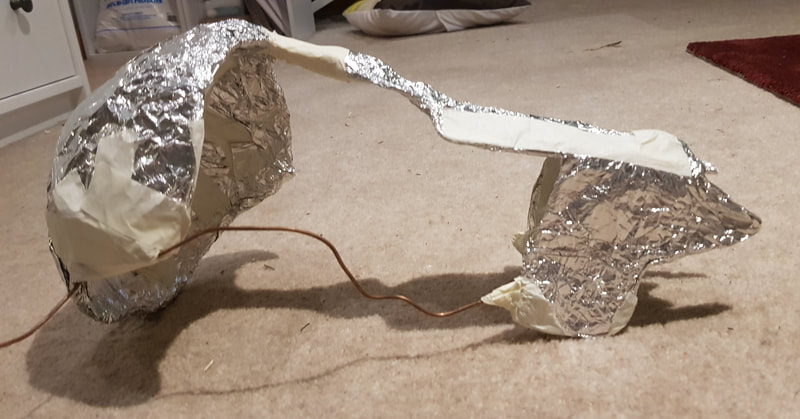
Next up was forming the nose bone. Deer have a long, fairly straight nose, sloping to the nasal opening. They don't have upper teeth; just a hard plate used for grinding vegetation against the incisors. I bent one length of wire to shape the pad and nasal opening, adding a jawline that connected to the base of the skull and eye sockets that attached to the brow bone. This left me with a wire "outline".
FILLING OUT THE SKULL
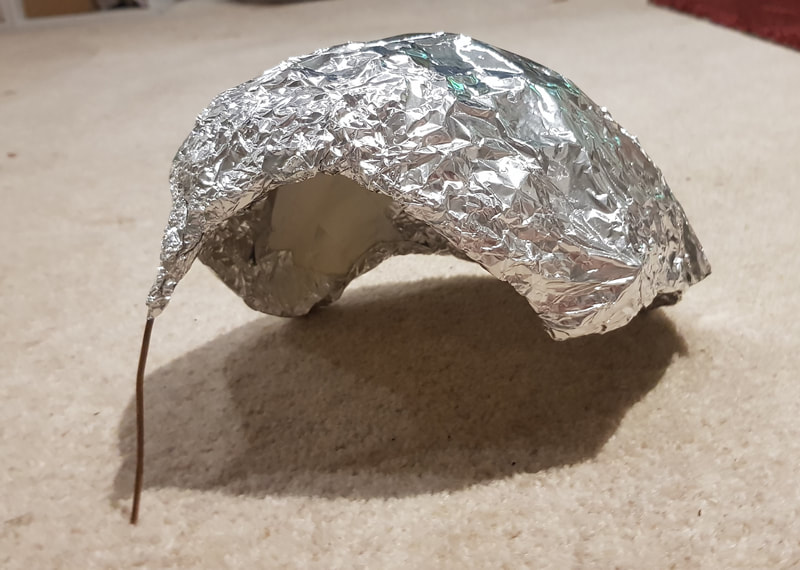
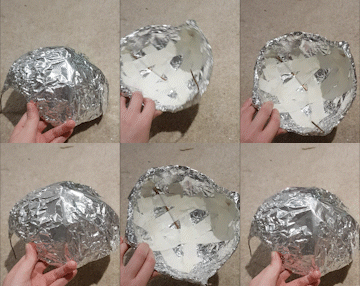
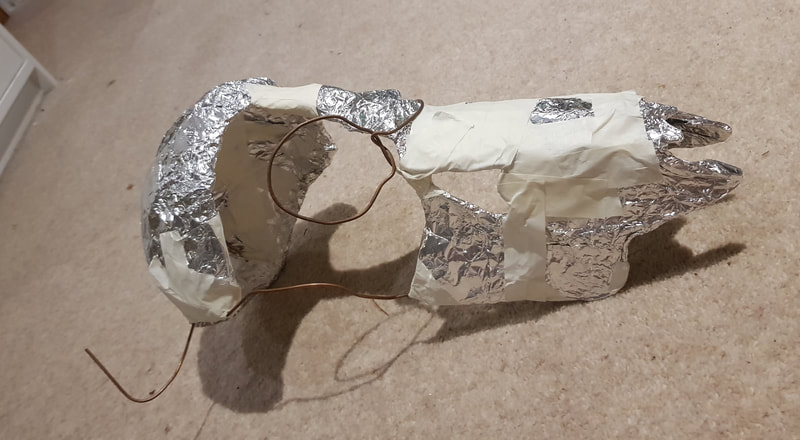
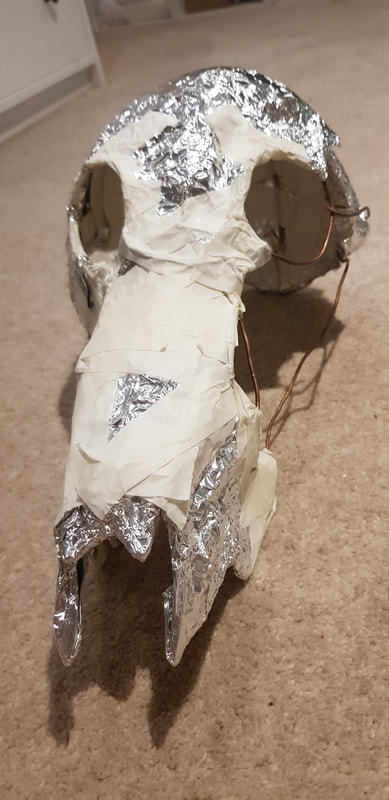
I would usually call this stage "fleshing out", but that seems inappropriate for a skull. The idea is to form a solid shape over the armature using tinfoil. I once attended a willow-weaving workshop, where we layered paper mache over the wood in a similar way - this is what gave me the idea to make my headpieces like this. I use tinfoil instead of paper mache because it is easier and less messy to mould, but either way the material needs to be lightweight to avoid the mask being too heavy to wear.
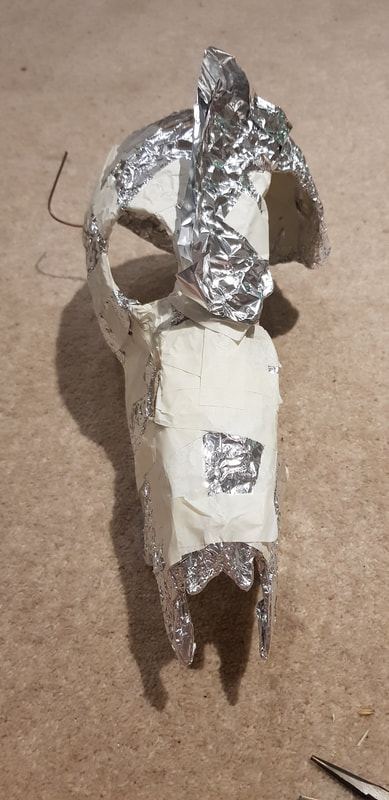
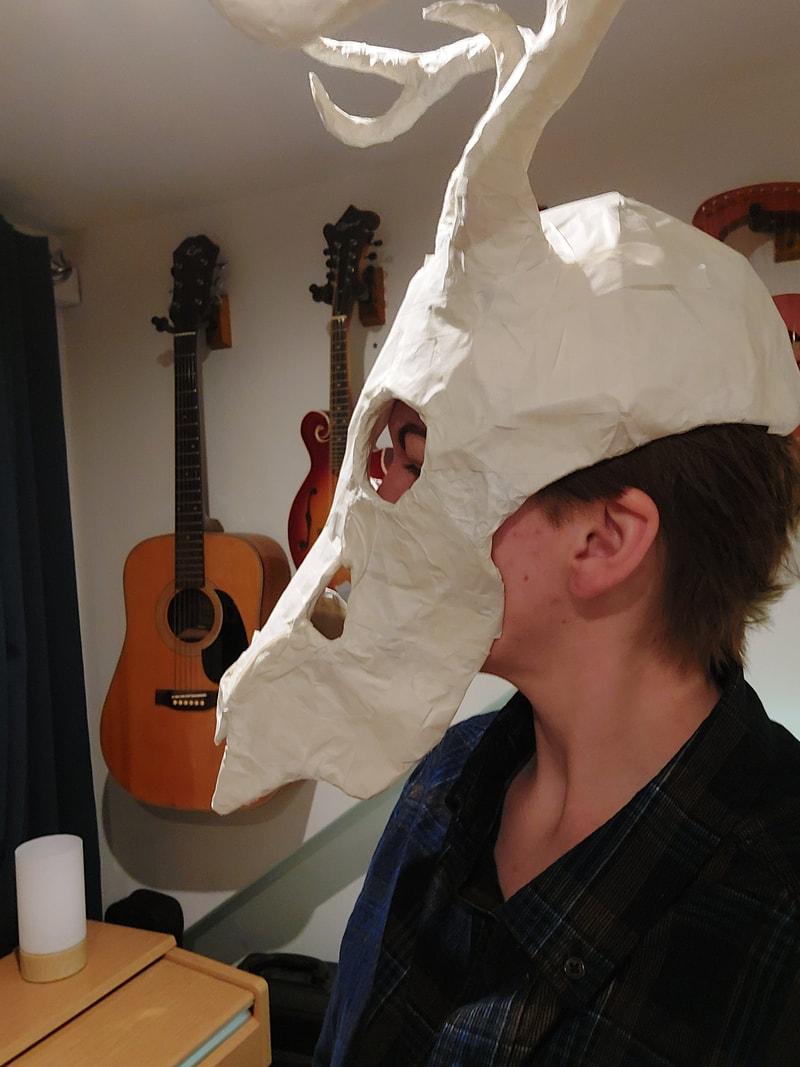
An important part of the process was regular fit checks, to ensure the armature wasn't bending out of shape as mass was added. It was beginning to resemble a deer skull alright, but I did look a bit like a pokemon...
ANTLER TIME
Female reds don't sport antlers, but my fascination with these incredible works of nature was too high to exclude them. Not to mention they were extremely fun to make.
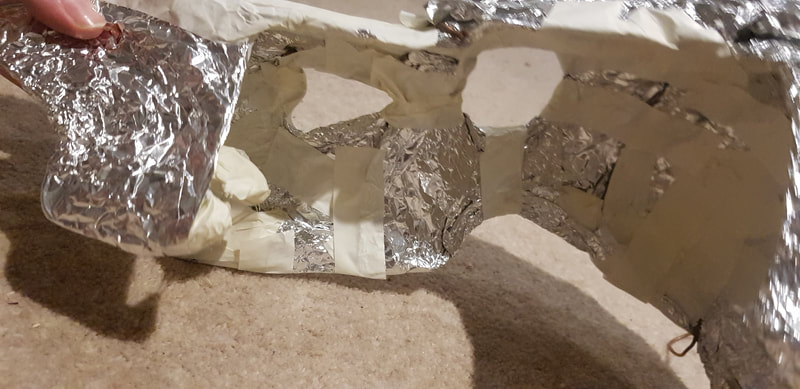
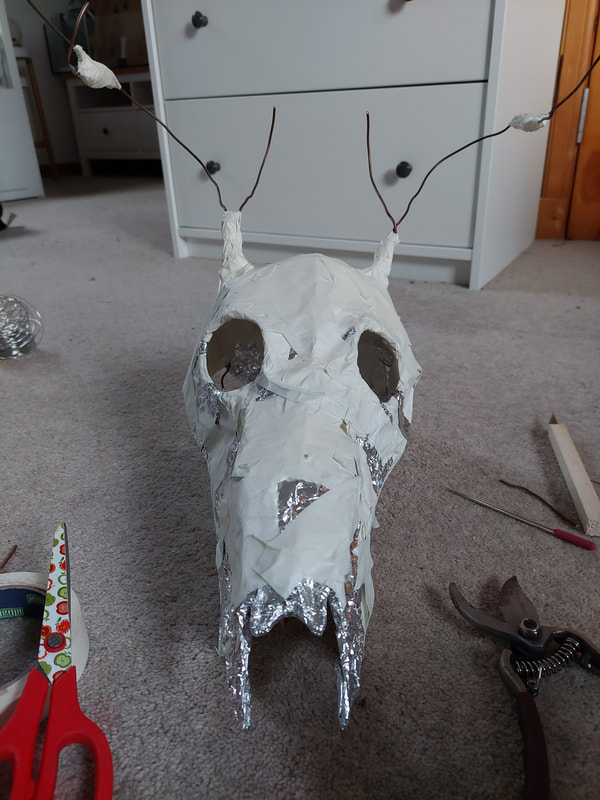
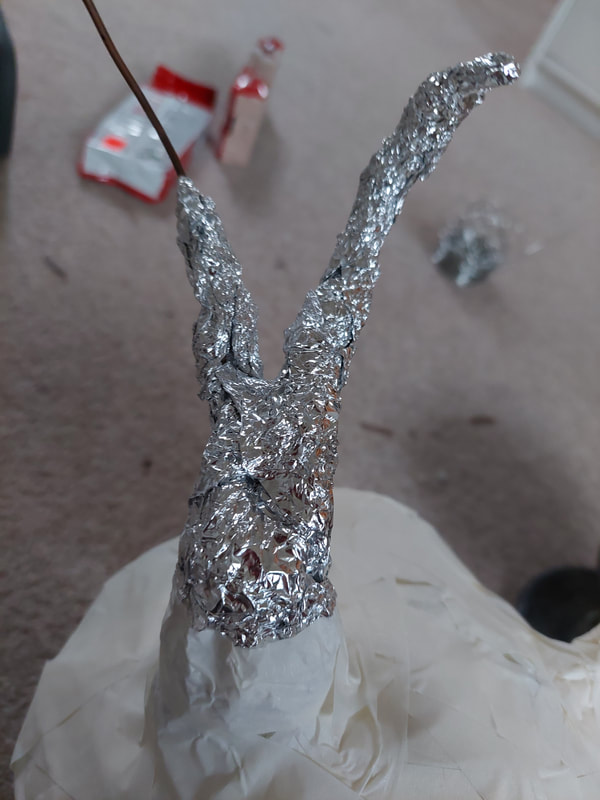
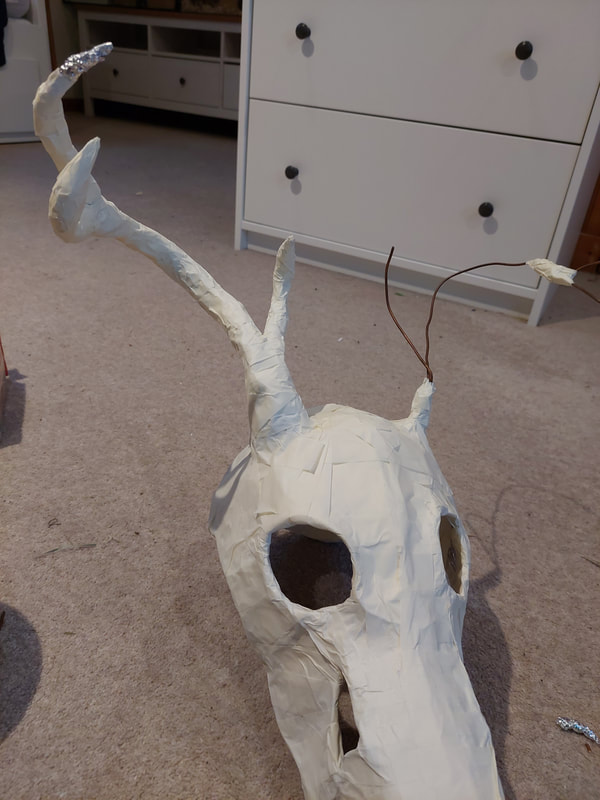
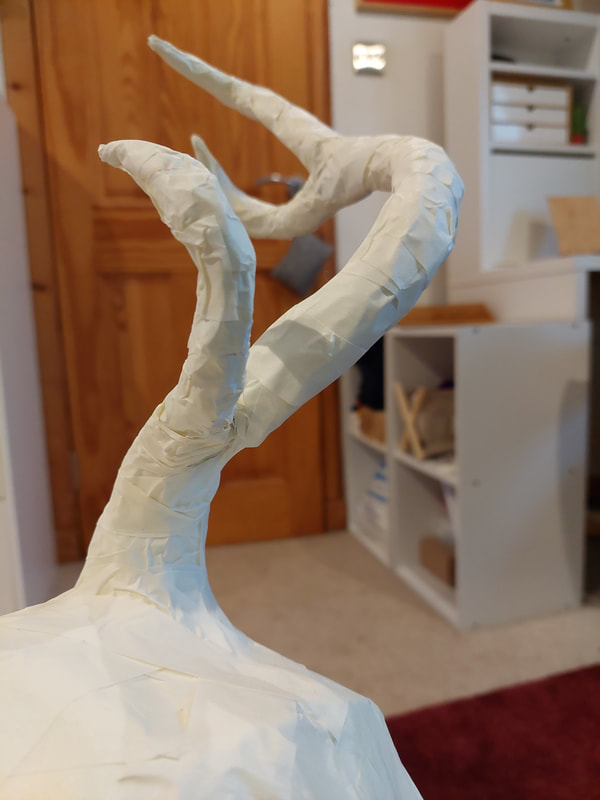
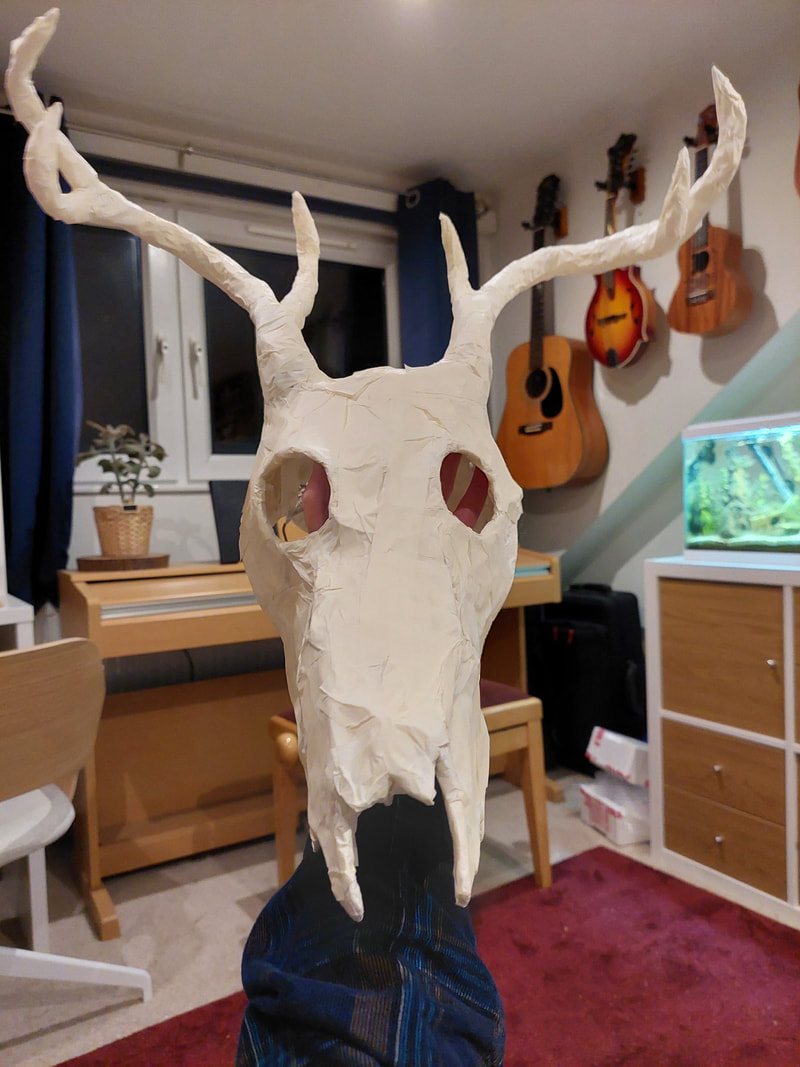
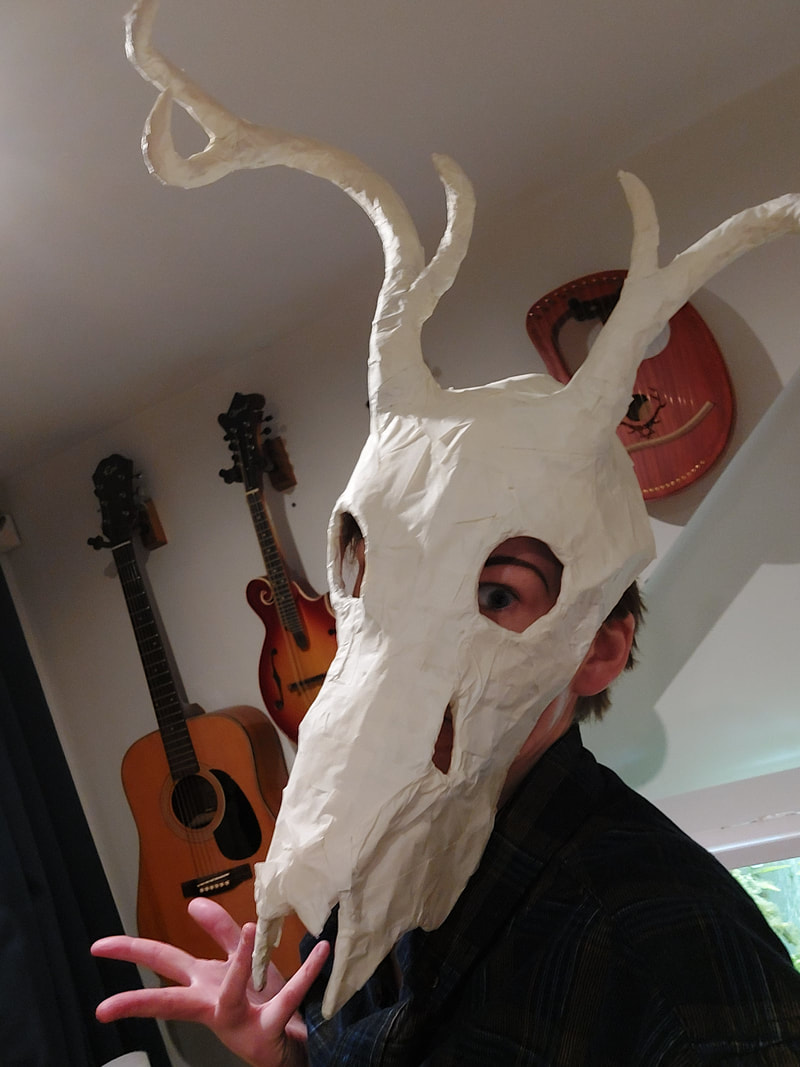
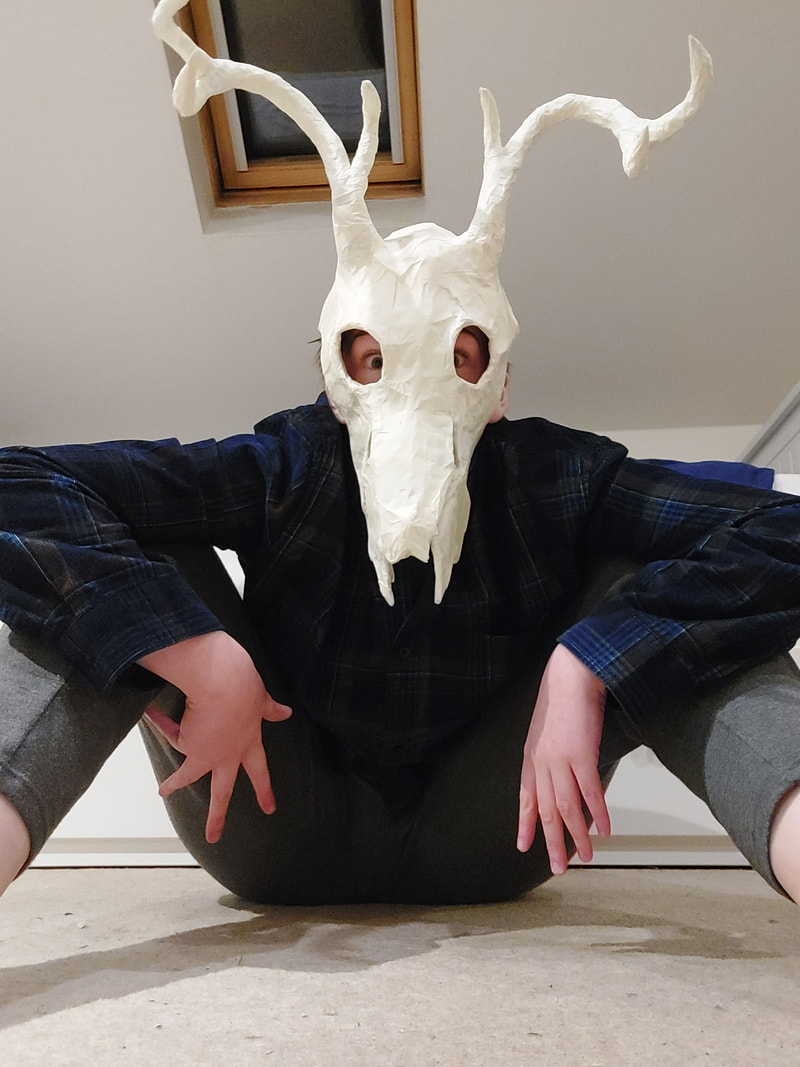
I poked two lengths of wire into the crown just behind the brow bone, twisting them from above and below and securing them with a tonne of masking tape. Once the main body of the antler was shaped, I added the tines by twisting on extra wire and eventually padded it with more tinfoil. After this, the skull was complete; all that left was to smooth out the tinfoil by layering it with masking tape.
I poked two lengths of wire into the crown just behind the brow bone, twisting them from above and below and securing them with a tonne of masking tape. Once the main body of the antler was shaped, I added the tines by twisting on extra wire and eventually padded it with more tinfoil. After this, the skull was complete; all that left was to smooth out the tinfoil by layering it with masking tape.
FULL FIT AND FINISHING UP
I did intend to take this further by sculpting a smoother form over the tape, but I didn't have any clay light enough on hand. Simple air-drying clay would still be too heavy for a headpiece - it needs to be foam clay or similar to give a comfortable, practical wear. I'm planning to do this and add more symbolic details, but here's what I managed to finish for this project.
SCULPTING
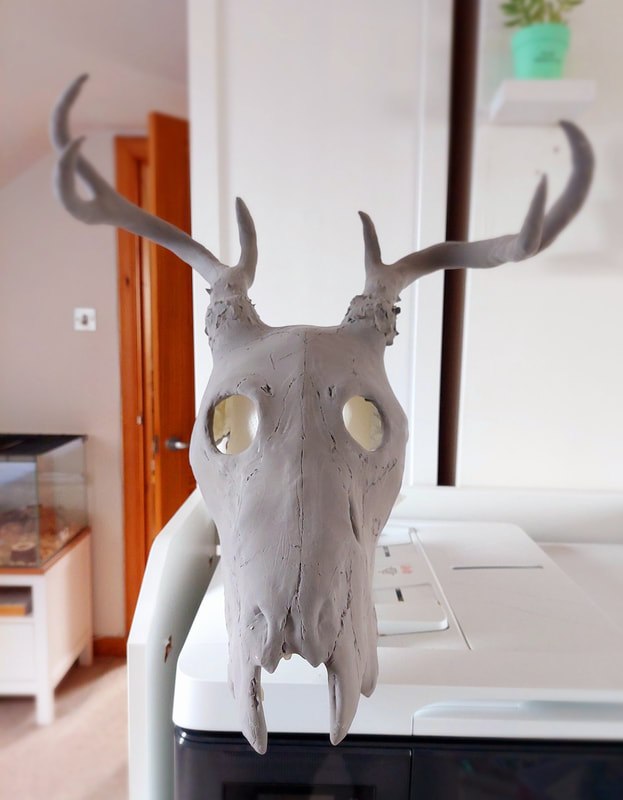
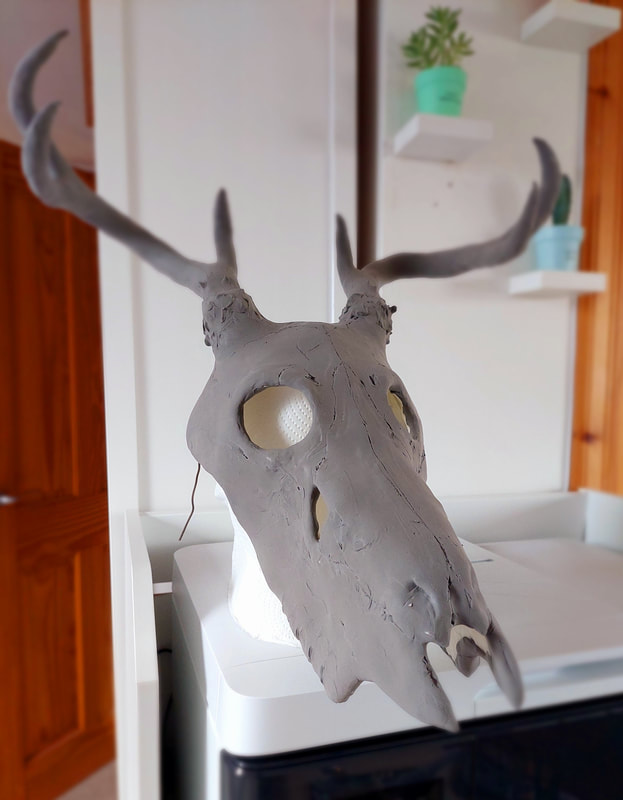
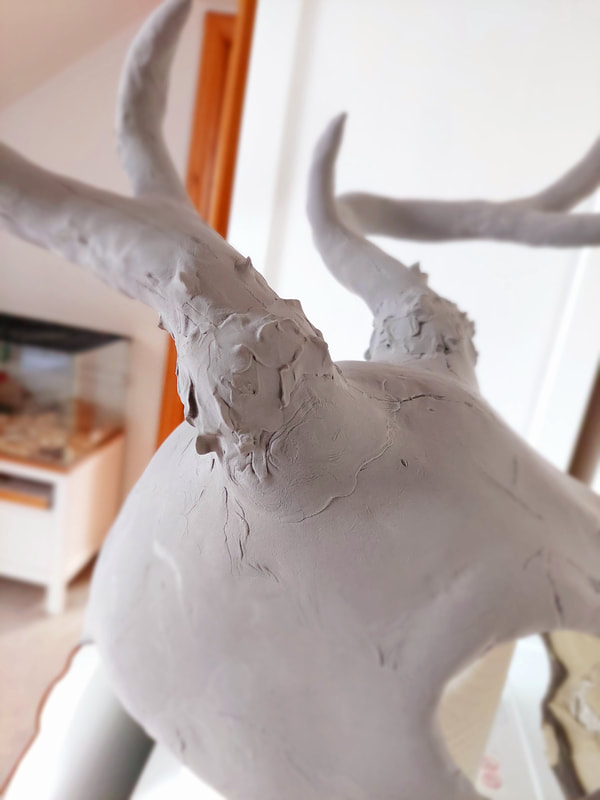
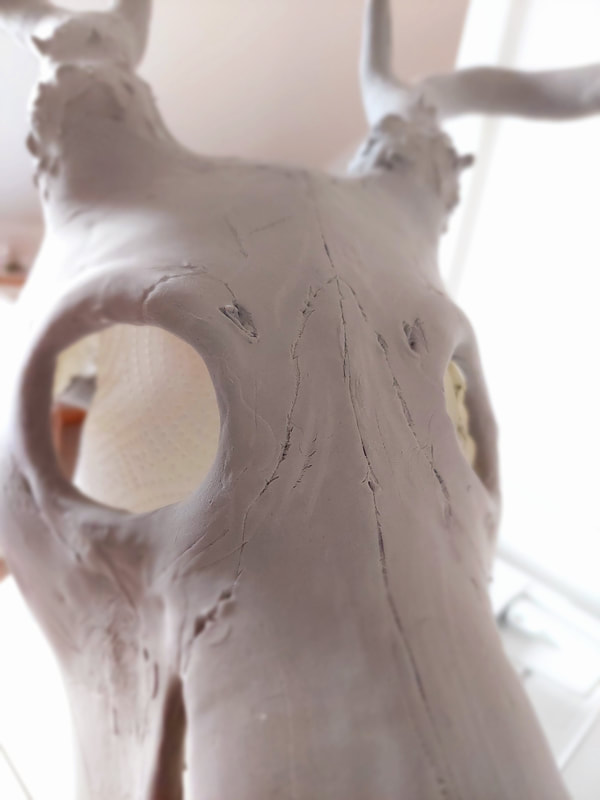
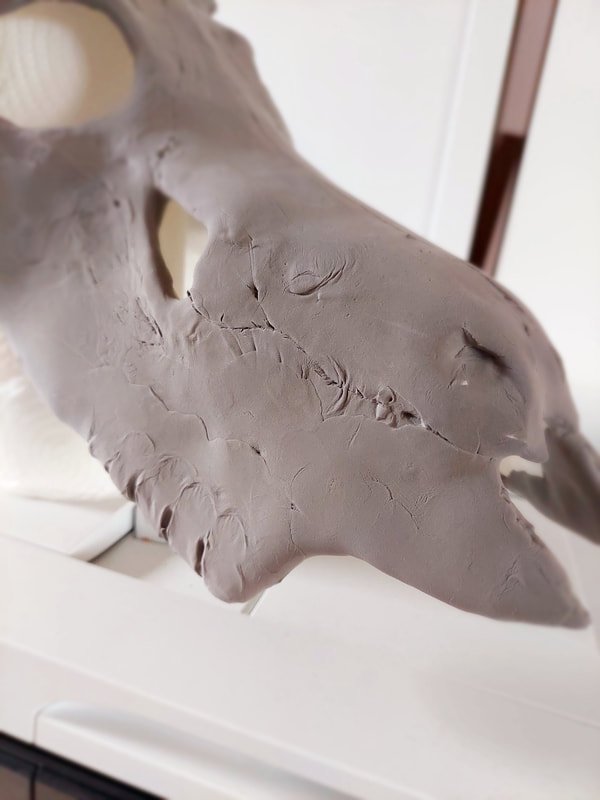
I came back to the mask when I eventually sourced the right clay for the job. I used Foam-Mo; a quick, air-drying foam clay which gives an extremely lightweight finish. I'd heard of it from fellow cosplayers who specialise in armour, but I'd never given it a go myself. It was surprisingly pleasant as easy to sculpt with!
Using my hands, a sculpting knife and a detailing blade, I moulded the clay over the masking tape to create a more believable skull. Foam-Mo is extremely pliable, and retained high tack and moisture for most of the sculpting time. However, in the future, I'll make sure to smooth my joints over as I make them - when I went back to do this, they had dried too much to blend.
Using my hands, a sculpting knife and a detailing blade, I moulded the clay over the masking tape to create a more believable skull. Foam-Mo is extremely pliable, and retained high tack and moisture for most of the sculpting time. However, in the future, I'll make sure to smooth my joints over as I make them - when I went back to do this, they had dried too much to blend.
CATS & DOGS
This was a fun, light-hearted little project. As an ex biology student and an animal lover, anatomy and physiology have always fascinated me. I was that weird kid who owned an origin manual on dog breeds at the age of seven - who needs friends when you have that, right? Point being, it was an ideal exercise to train the eye to creative opportunity; to break breed bodies down into simple shapes, and choose the appropriate "stuff" to build them.
DIXON THE DASCHUND
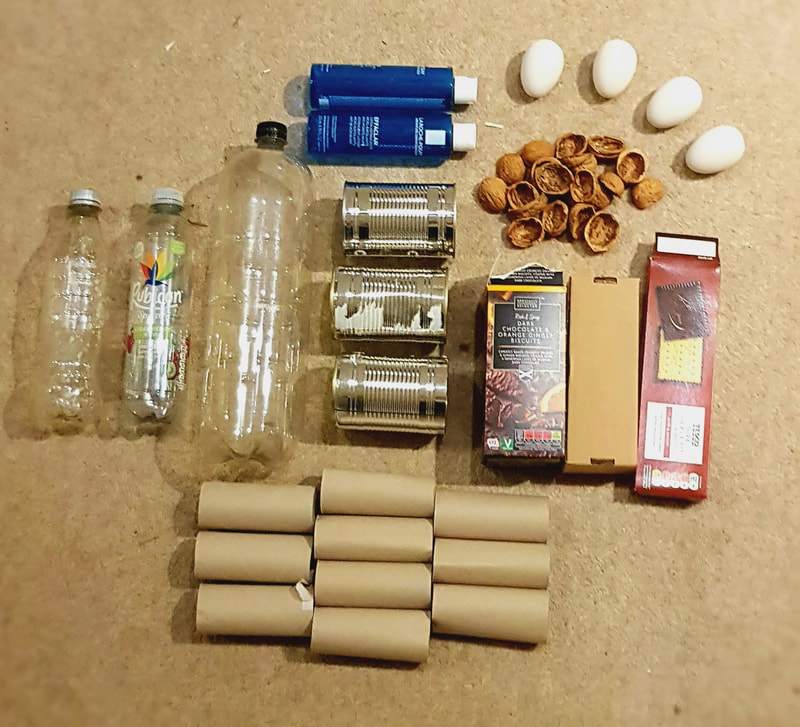
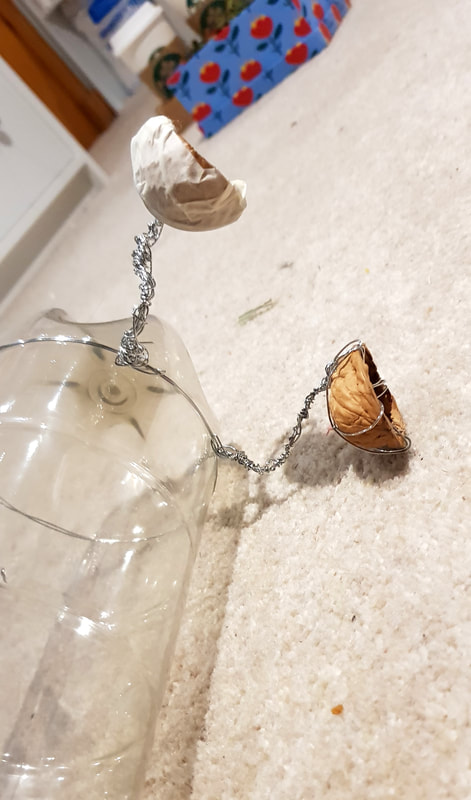
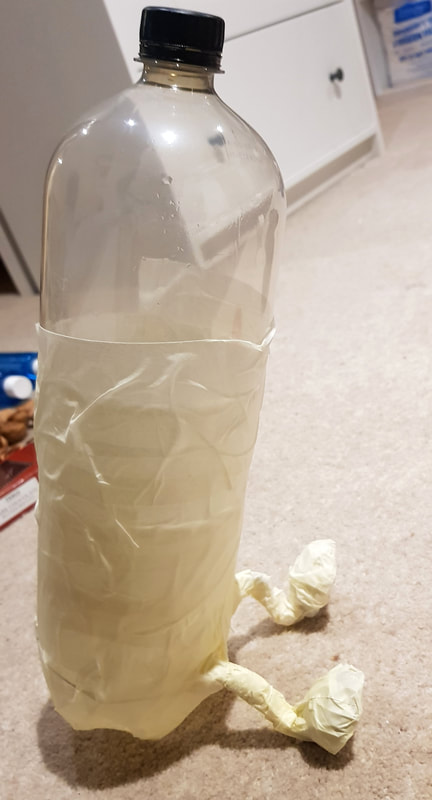
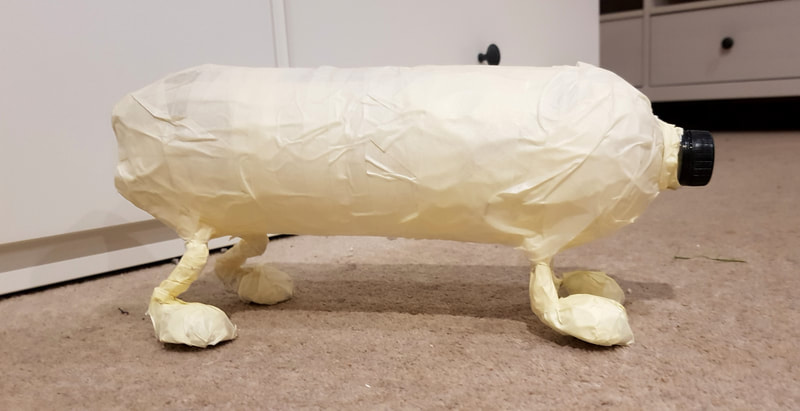
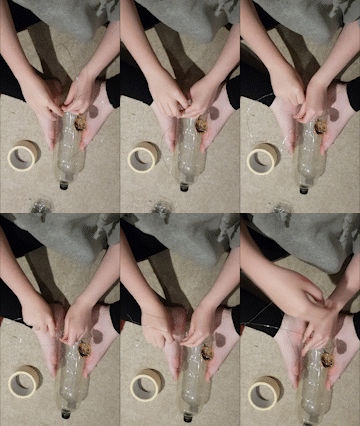
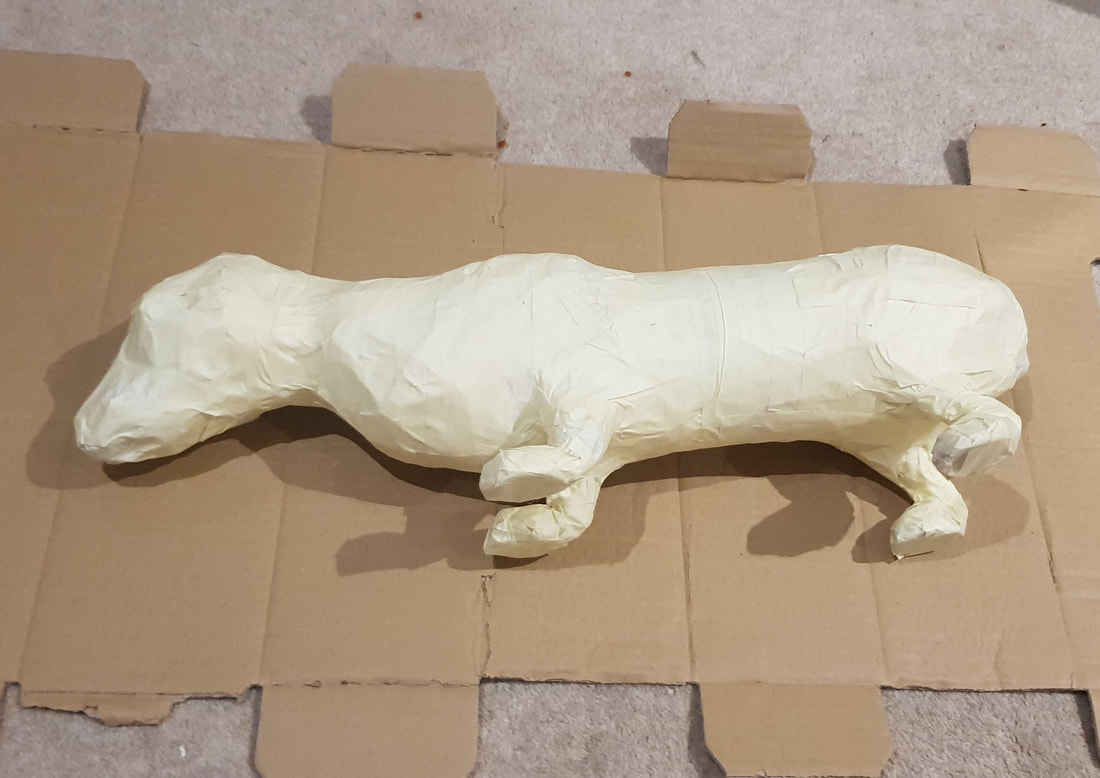
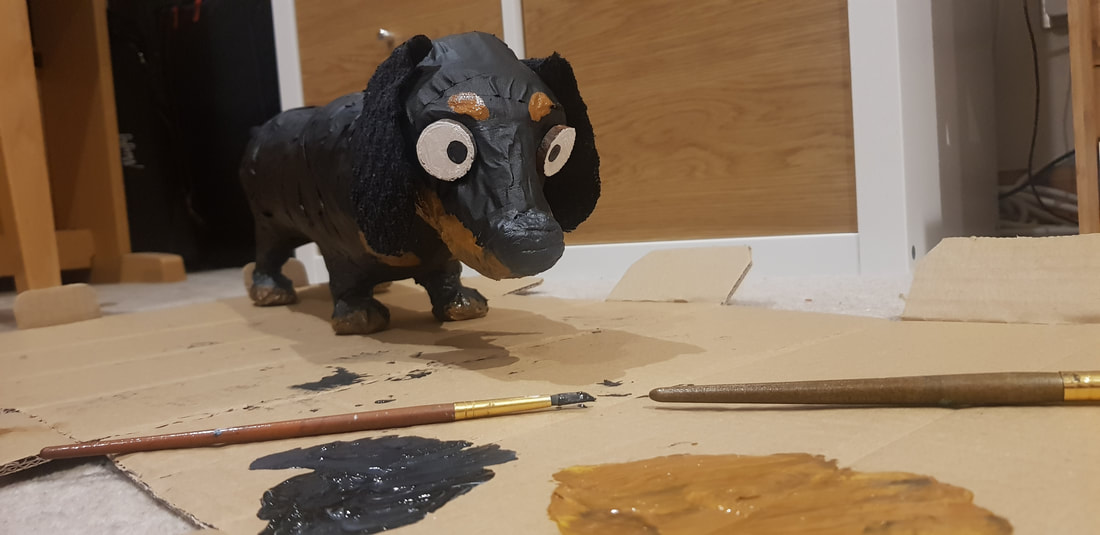
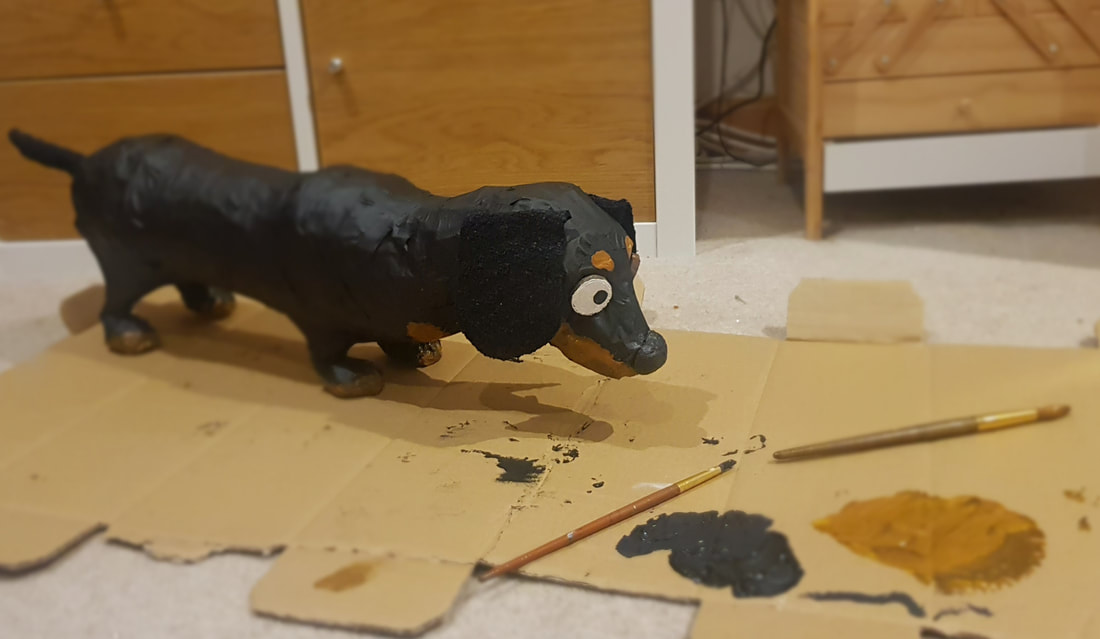
One look at the empty 2l coke bottle, and I knew I was making a dachshund. It was pretty much already the perfect shape, so I began by adding legs straight away. These were made out of wire and walnut shell halves, fleshed with tinfoil and wrapped in masking tape in the same way as before.
Dachshunds have long, weaselly bodies and deep chests; the long body is good for worming through tunnels, and the deep chest provides maximum lung capacity for underground breathing. I padded the front of the bottle out to recreate this. There wasn't much else to this once the legs and head were added, to be honest.
Wrapped in masking tape and ready to paint, there was only one coat colour to go for - the classic black and tan. Dixon is the name of a Dachshund regular we have at work, so it fit well.
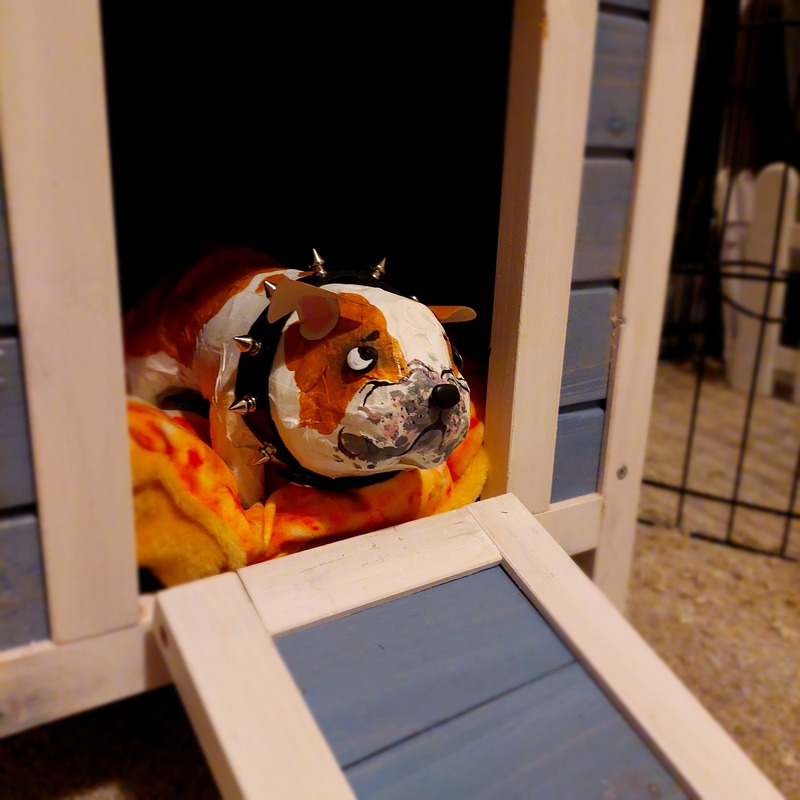
BENTLEY THE BULLDOG
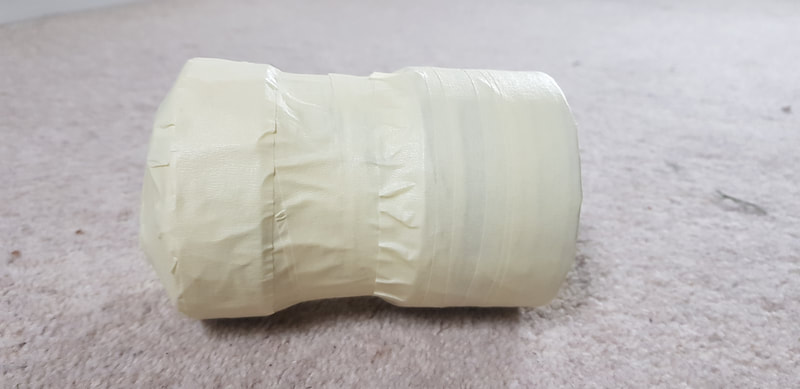
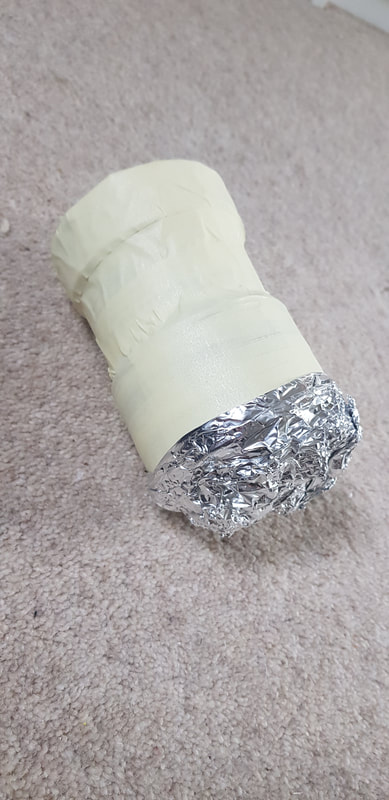
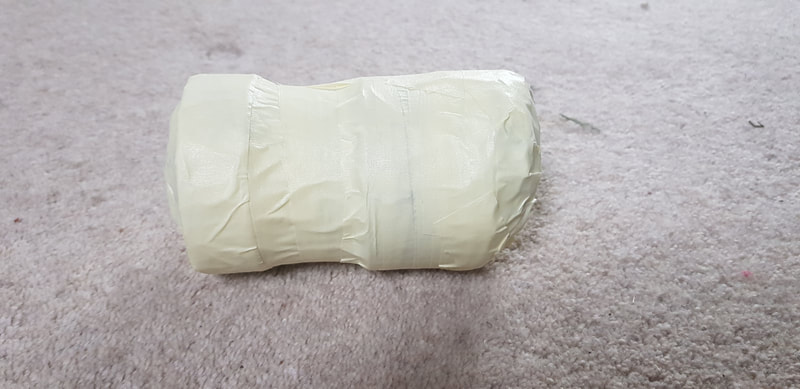
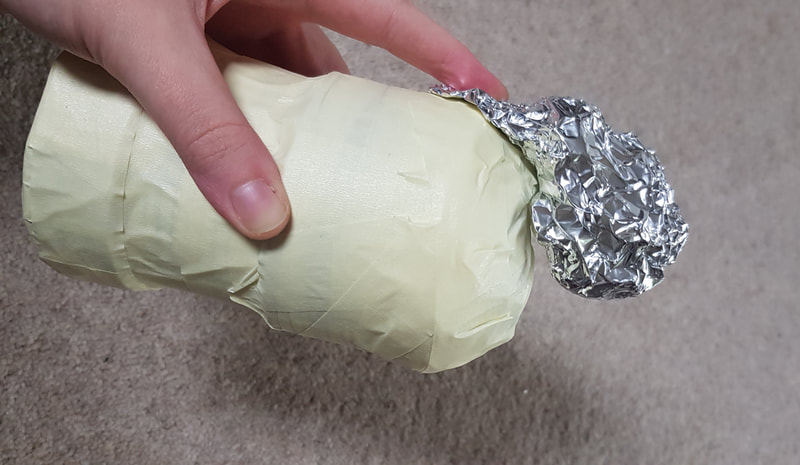
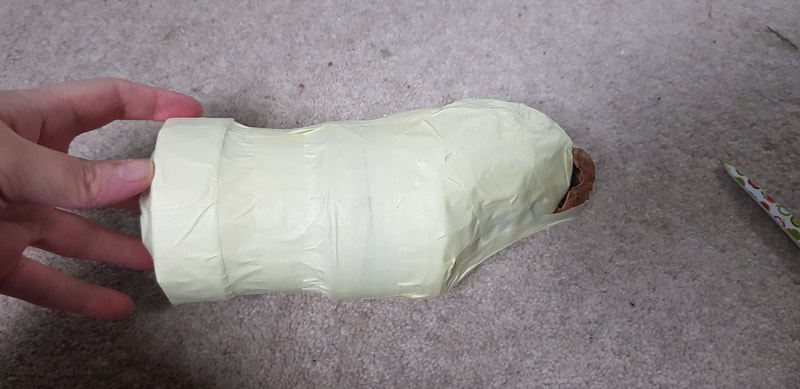
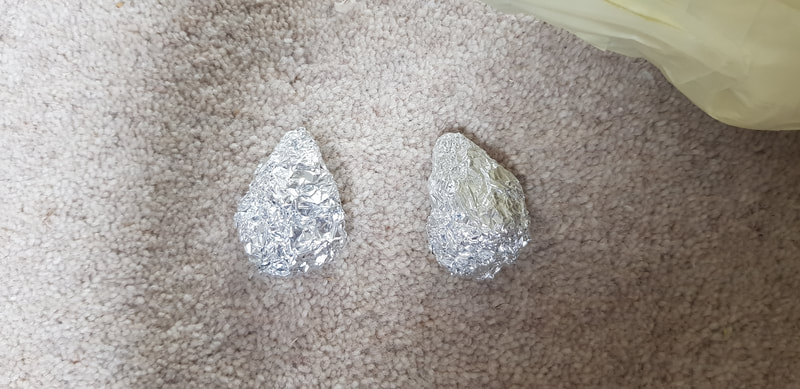
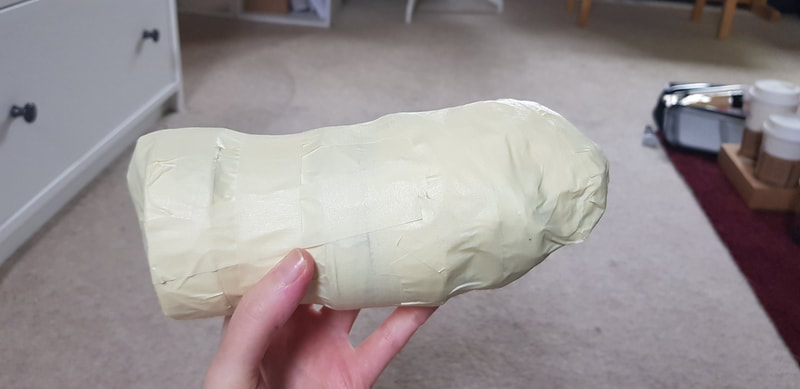
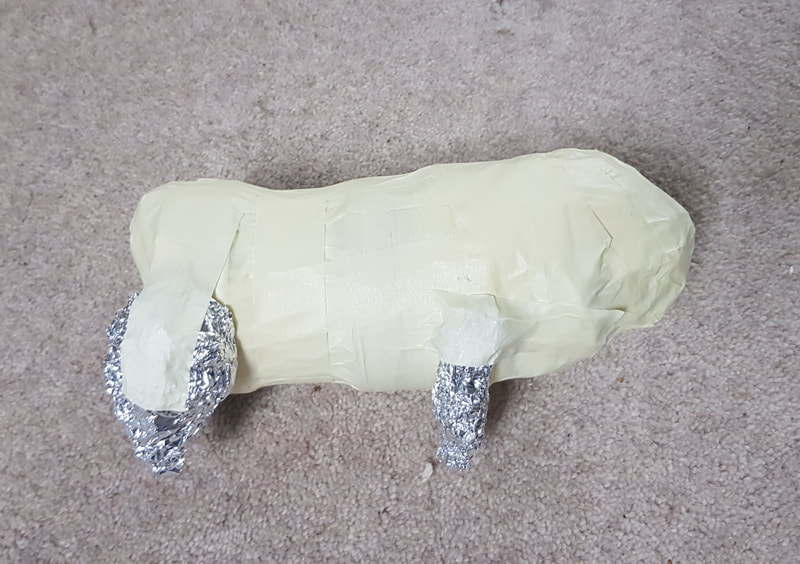
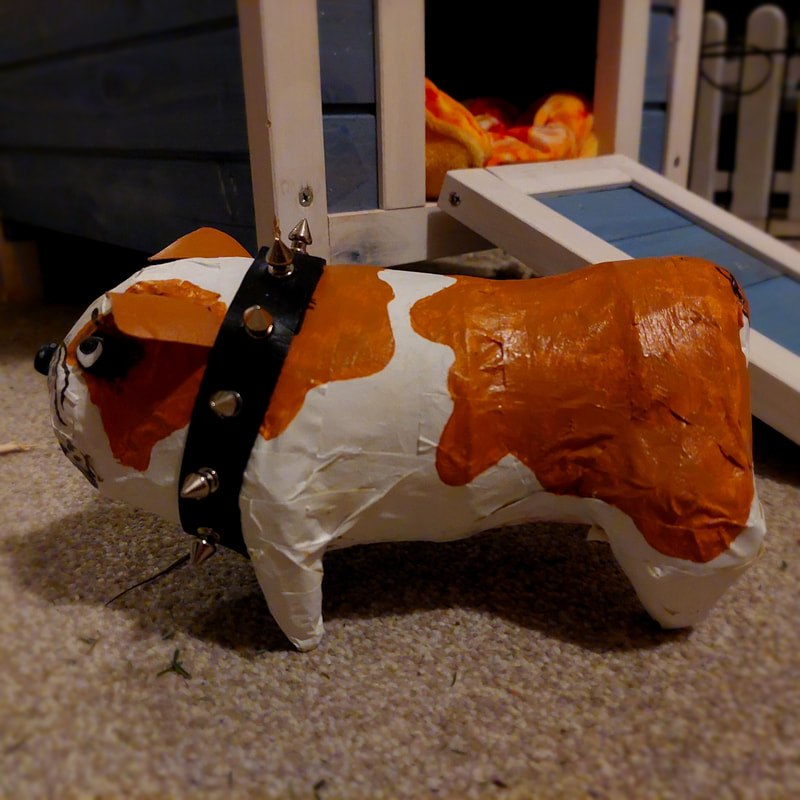
English bulldogs have a short, compact body jam-packed with muscle, and short smushed-up faces to match. I saw potential to recreate this in the stoutness of an empty bean can and two bare rolls of tape - bound together, they made the rough shape I was looking for. The head and rear were fleshed out with tinfoil again, with the legs and jowls added similarly.
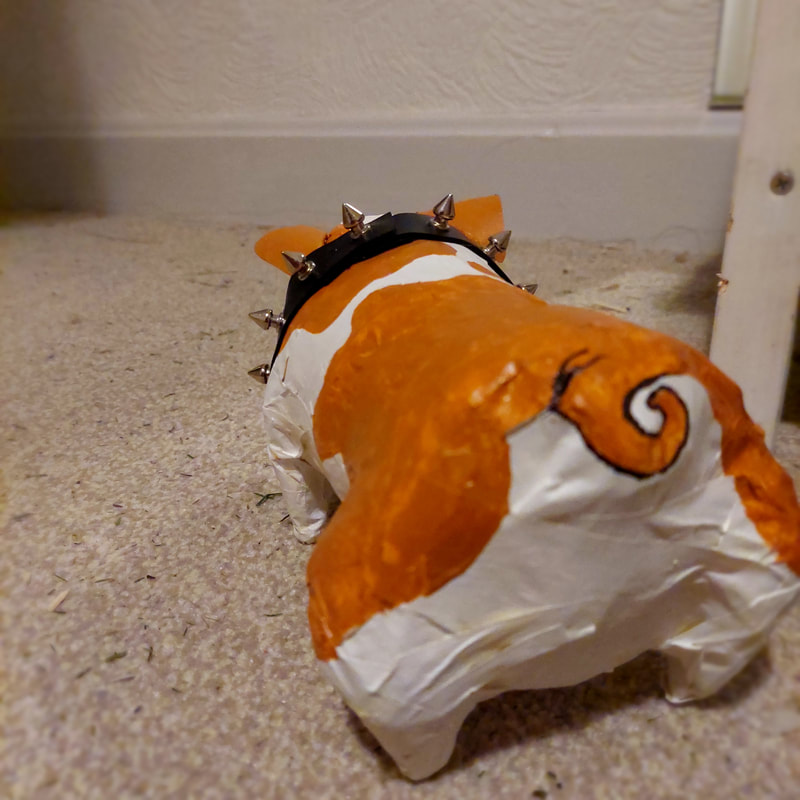
He was pretty much ready to paint after that. Bentley is again based on a regular customer I see at work, Stanley the bulldog.
GRIERSON THE GREYHOUND
|
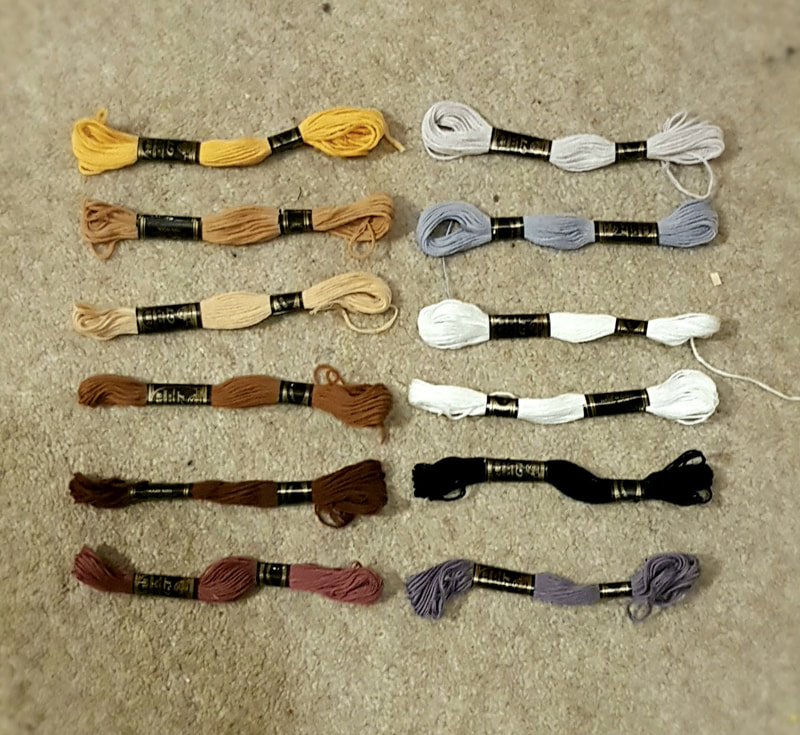
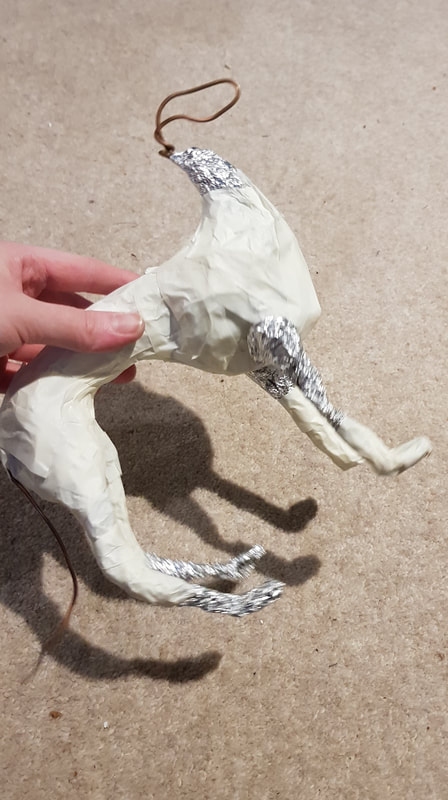
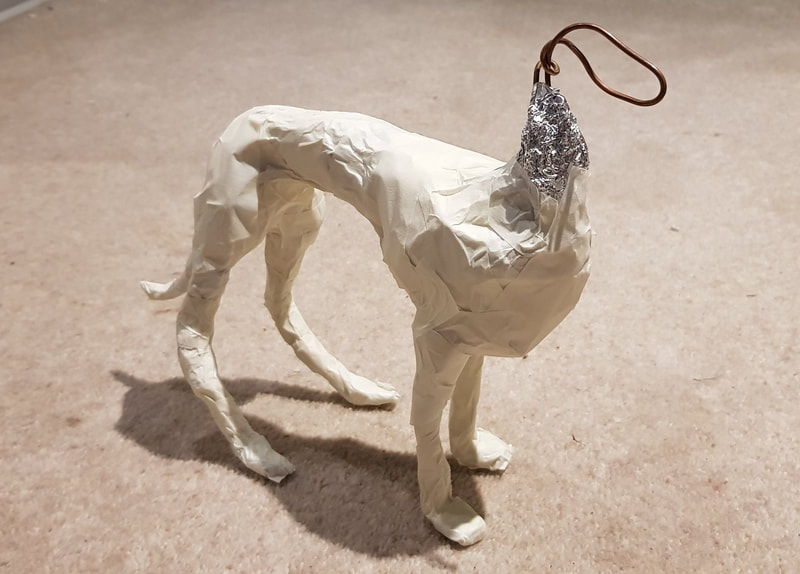
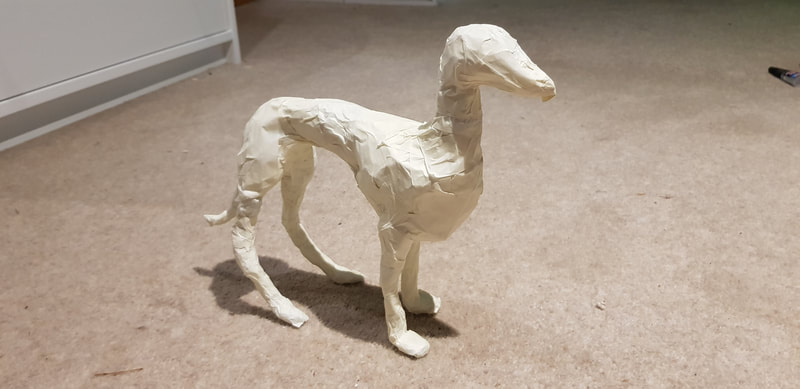
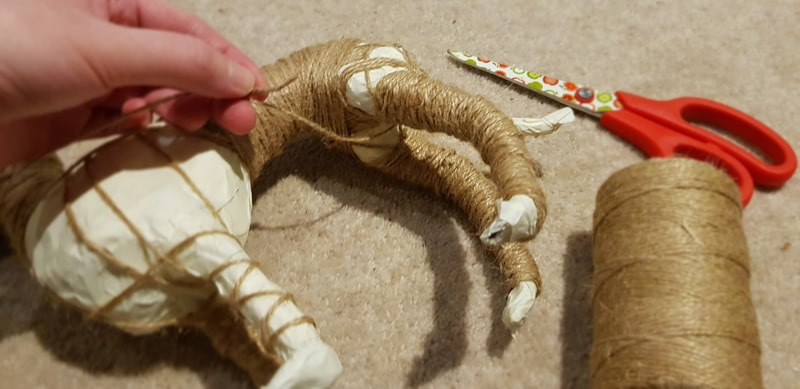
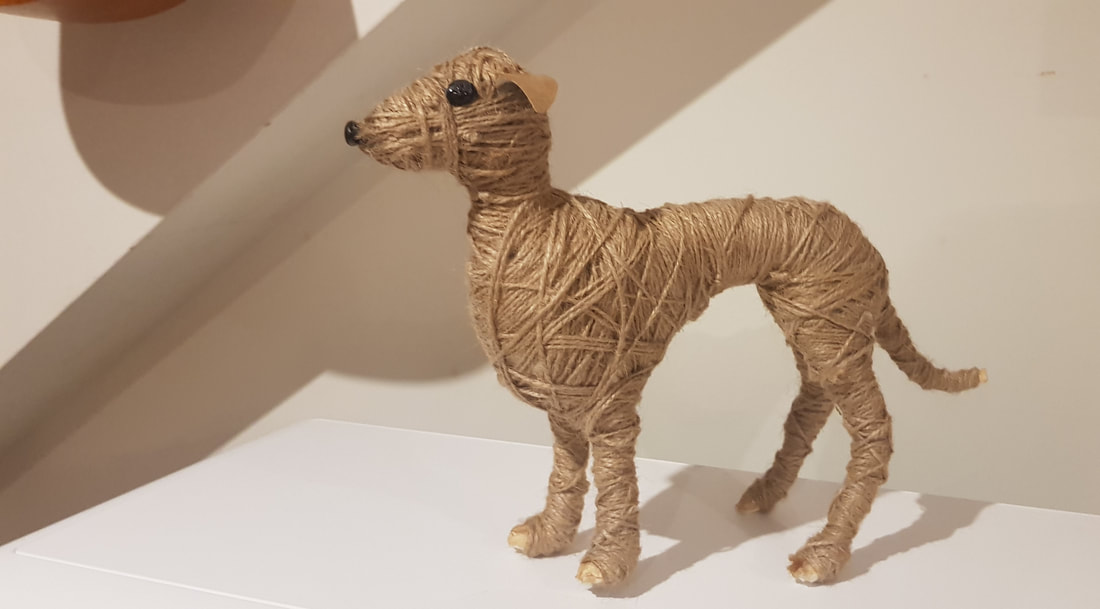
The greyhound is a fascinating breed. A sighthound built for speed, they are natural athletes. Like the Dachshund, the barrel chest maximises lung capacity - unlike the Dachshund, their tall skinny bodies and spindly legs are built for long distance running. I went into more detail with this model, referencing skeletal diagrams to build the armature. Once I was happy with the bone structure from all angles, I padded out the body as before. I wanted to try a different way of adding colour this time. Instead of painting the body, I wound it with fine jute twine. It was a very experimental, lengthy process, but I was happy with the outcome. It had a nicer look to it than paint did, and was soft to the touch. |
Grierson's ears were simply flaps of cardboard, and his nose and eyes were black topsoil pebbles. It won't surprise you that my muse for this was also a dog I know - my cousin's greyhound, Sirius.
SHIZU THE SIAMESE
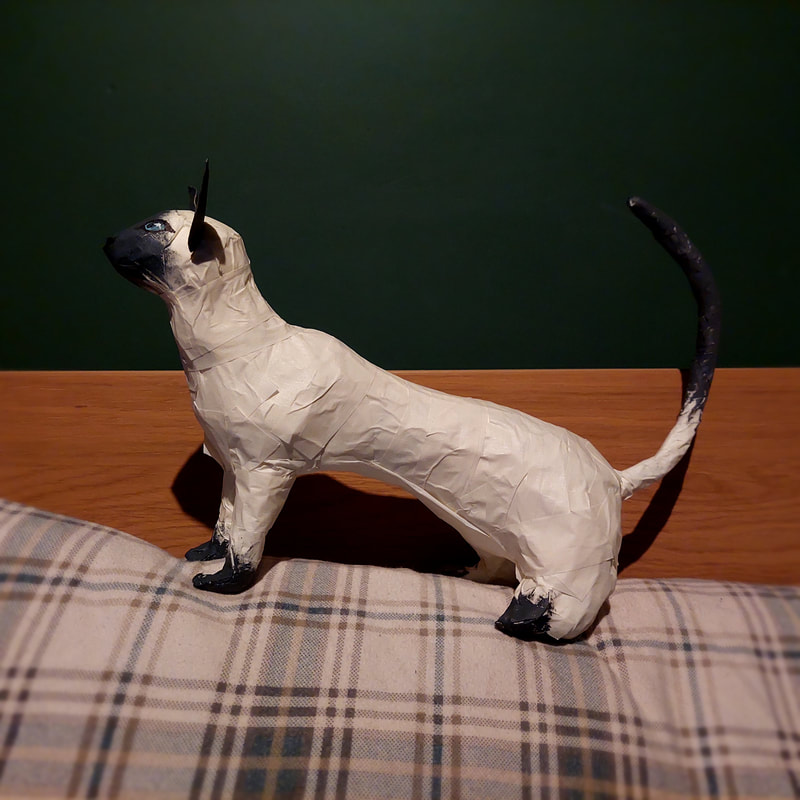
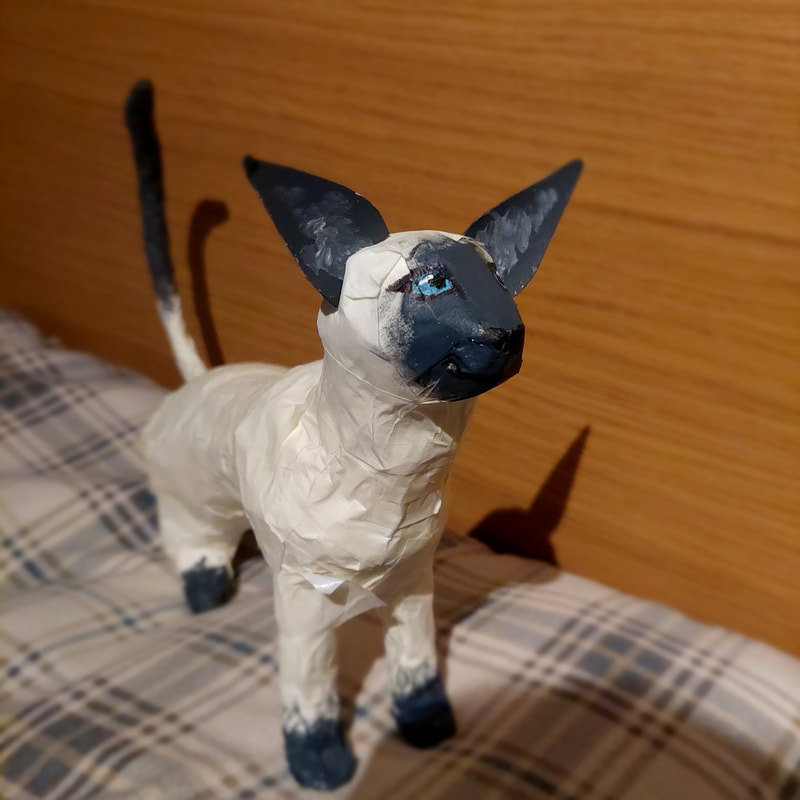
I completely forgot to take progress photos of Shizu, but he was made in much the same process as the dogs were. Traditional Siamese cats originated in Thailand when it was known as Siam. They have wedge shaped faces with large, pointed ears, and always sport seal-point colouring. I used a narrow plastic bottle for the long, slim body, building the rest from there.
Overall, I really enjoyed this project. It proved to be a valuable lesson in resourceful creativity, and good practice in breaking subjects down into shapes.
Site powered by Weebly. Managed by 34SP.com

