This project focused on scientific topics. Like the first, we were each given one to take in one of the following directions: editorial illustration, textbook illustration or clarify the complex.
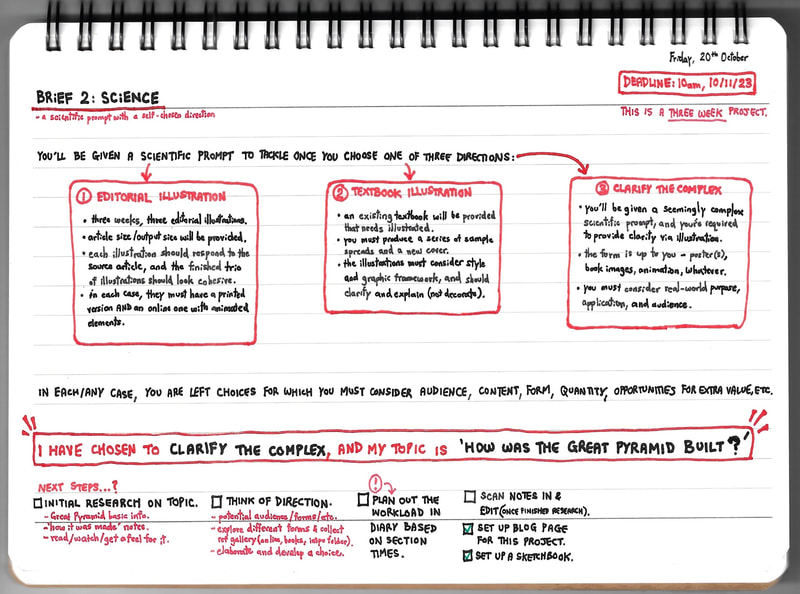
The topic given to me was the Great Pyramid, and I chose to clarify the complex. This required me to use illustration to provide clarity on the topic, in whatever form, whilst considering purpose, application and audience.
The topic given to me was the Great Pyramid, and I chose to clarify the complex. This required me to use illustration to provide clarity on the topic, in whatever form, whilst considering purpose, application and audience.
The Great Pyramid: A Wonder of the Ancient World
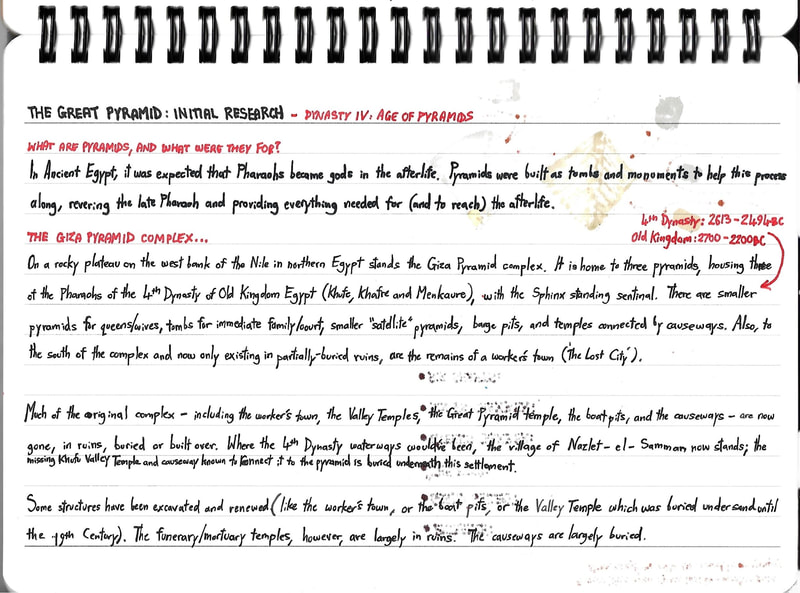
In Ancient Egypt, it was believed that Pharaohs would become gods in the afterlife. Pyramids were built as monuments and tombs to honour their life, protect them in death and assist their ascension to the afterlife.
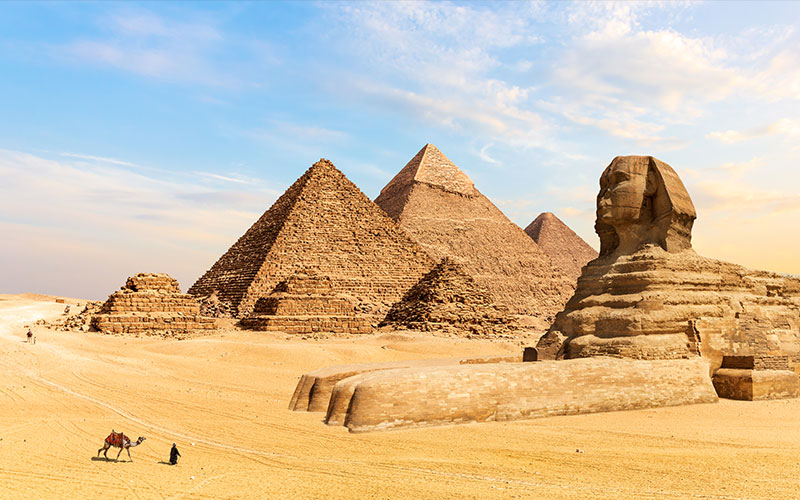
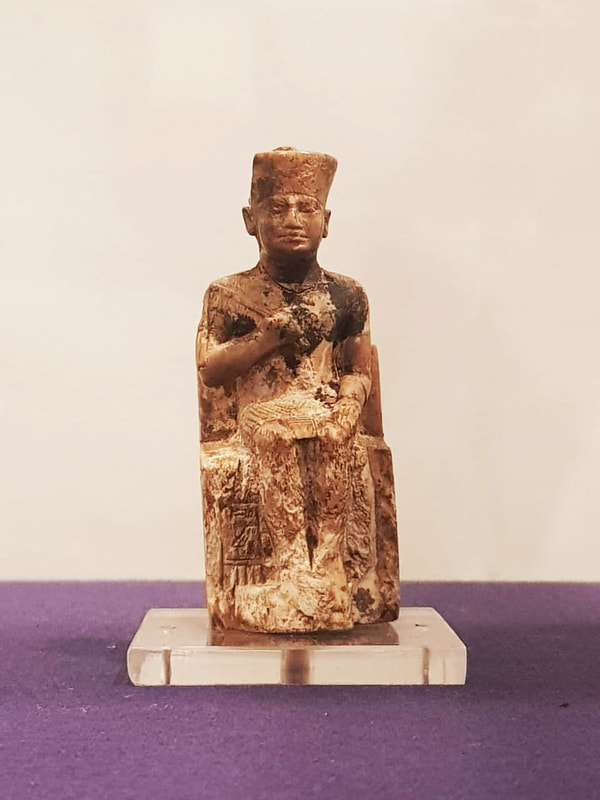
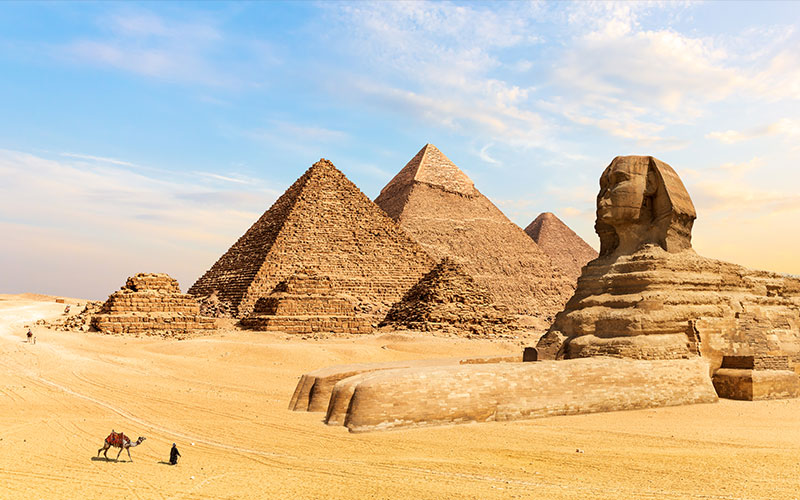
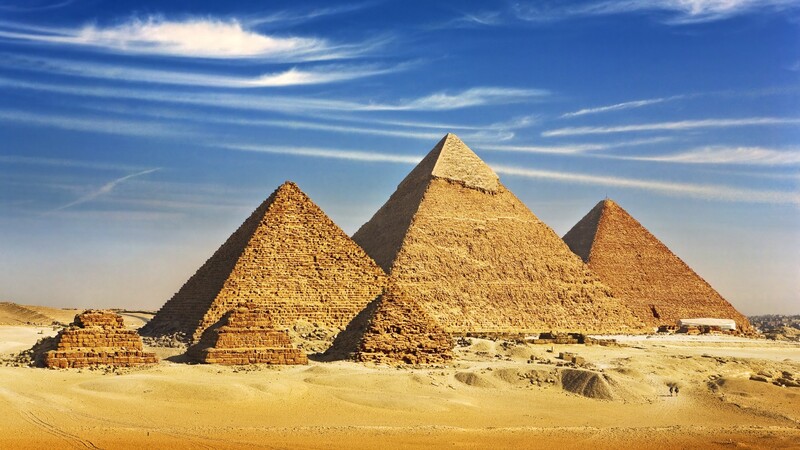
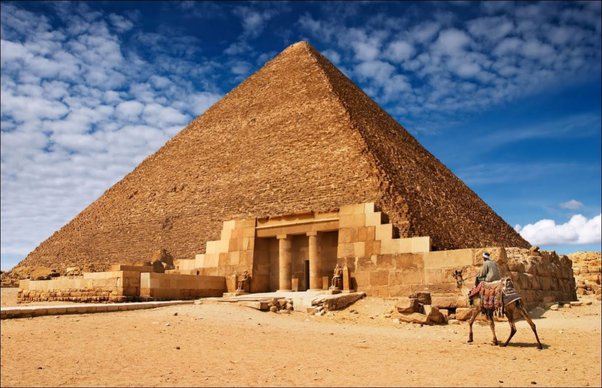
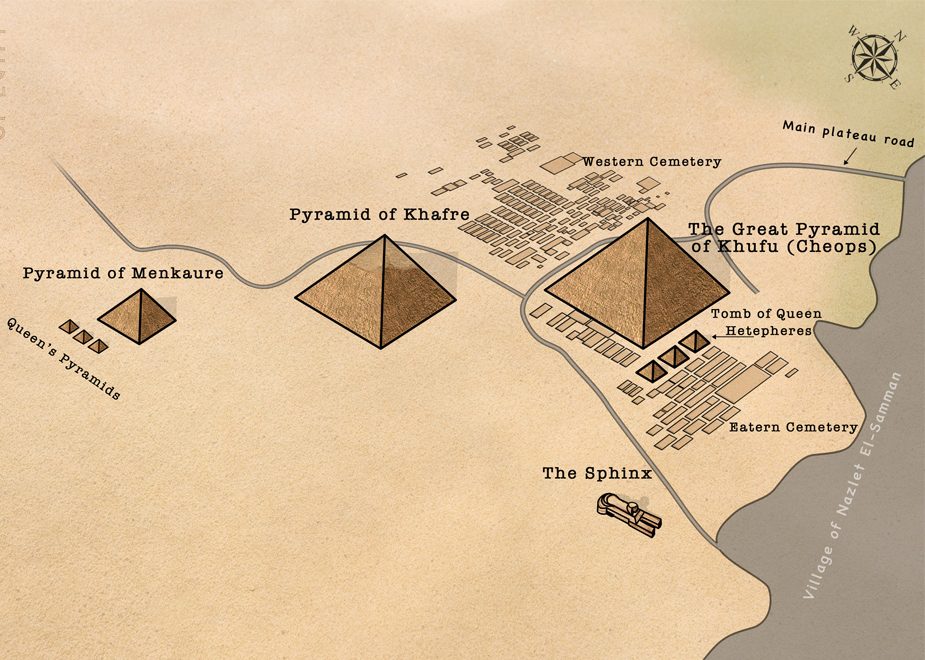
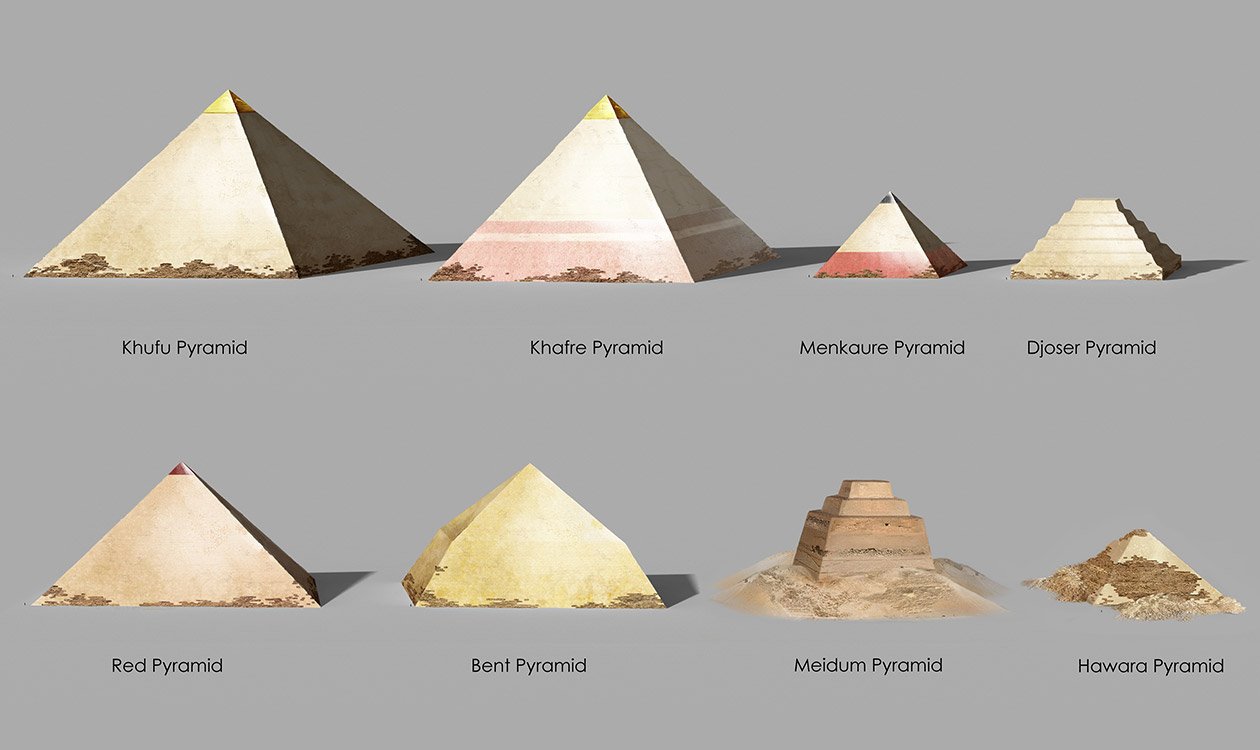
Said to be "built to last an eternity", The Great Pyramid of Giza is the oldest of the Seven Wonders of the Ancient World and the only one still largely intact. It was built in the 4th Dynasty of Egypt's Old Kingdom as the tomb and legacy of Pharaoh Khufu. Khufu was the first Egyptian ruler to build a pyramid; though there had previously been rudimentary attempts, his was the first true pyramid and remains the largest and most famous of them all. Today, it stands northmost of the Giza Pyramid Complex alongside the pyramids of Khafre and Menkaure, with the famed Sphinx standing sentinel. However, how such a feat of ancient engineering was built is still widely debated even among modern-day scientists and historians.
How - some 4500 years ago, over the span of two decades - a 5.75million tonne monument was built in the stifling heat of the Giza Plateau by the hands of an ancient workforce.
Research
As always, I began with a lot of research and reading to better understand what I was illustrating - this was even more crucial in this project, as my illustrations had to convey a thorough understanding in order to explain how the Great Pyramid was built. I also collected image banks for different parts of the research process, which I've included below.
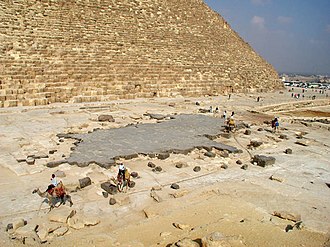
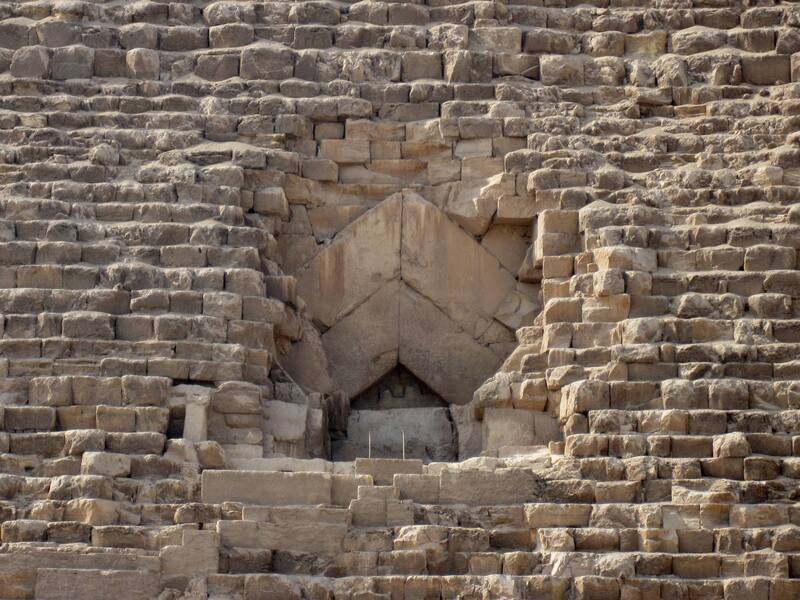
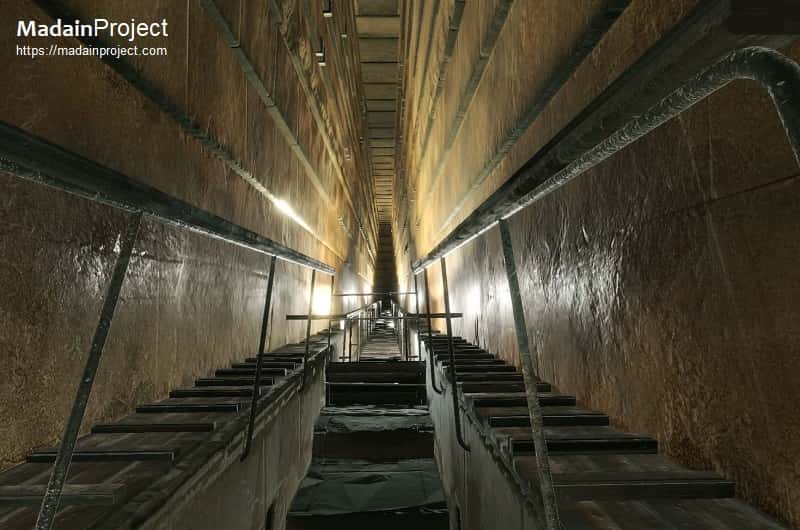
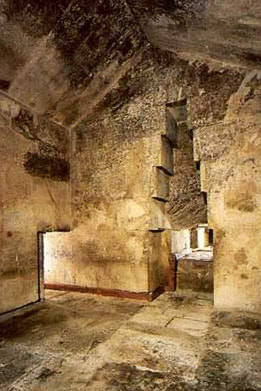
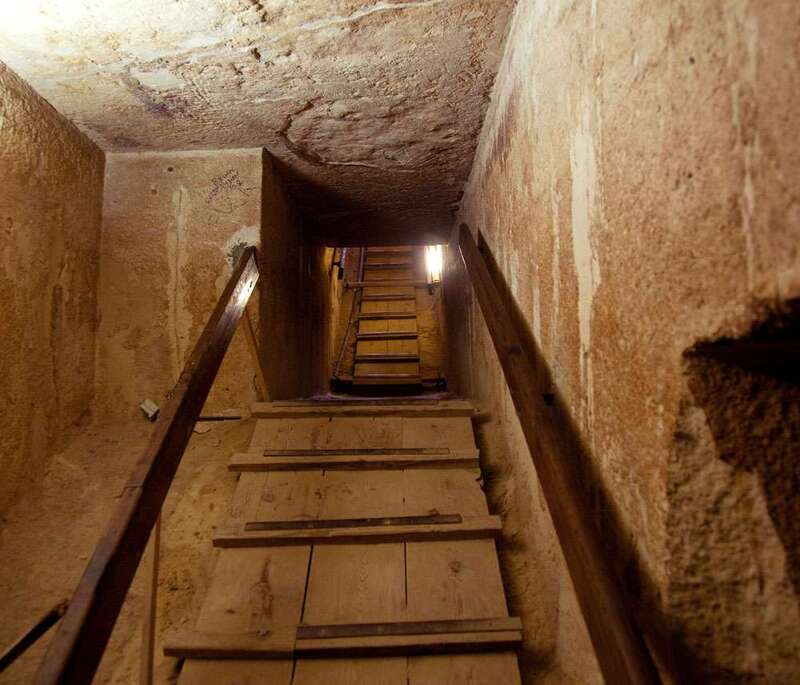
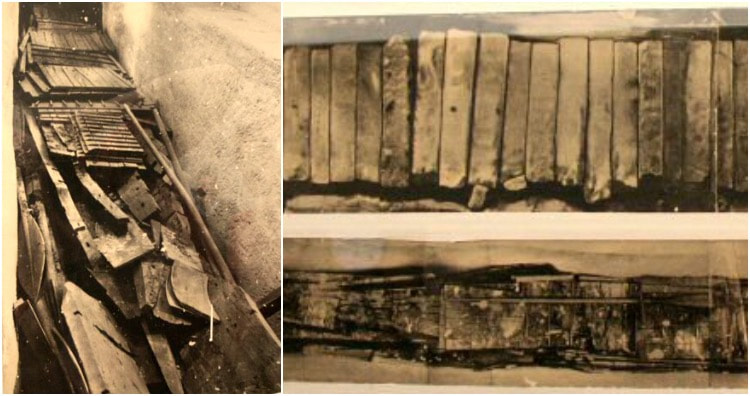
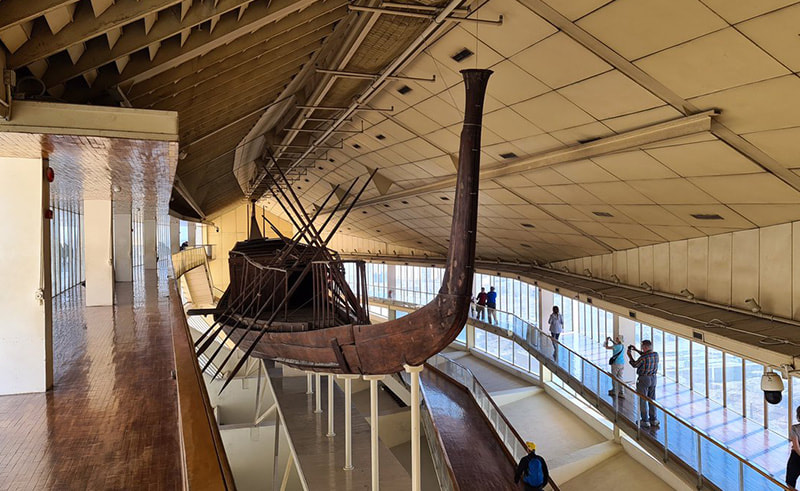
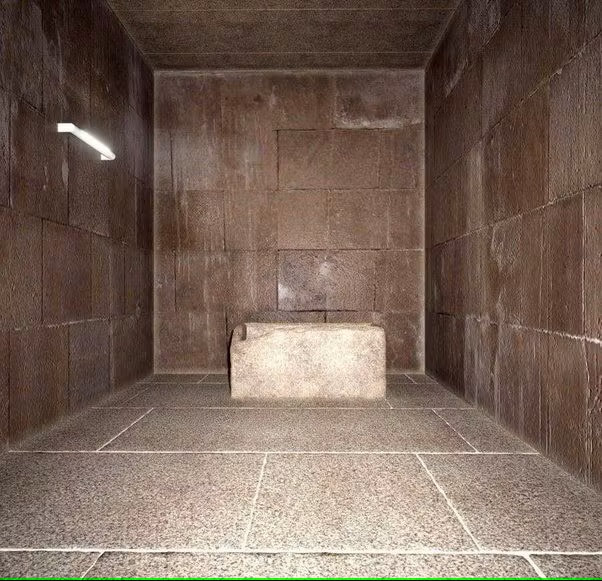
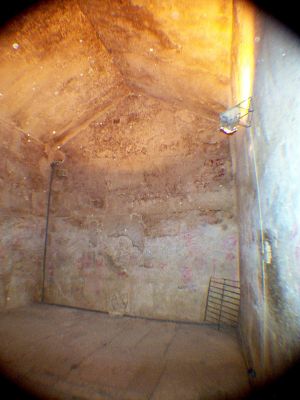
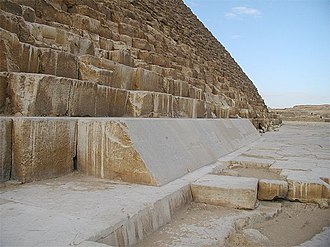
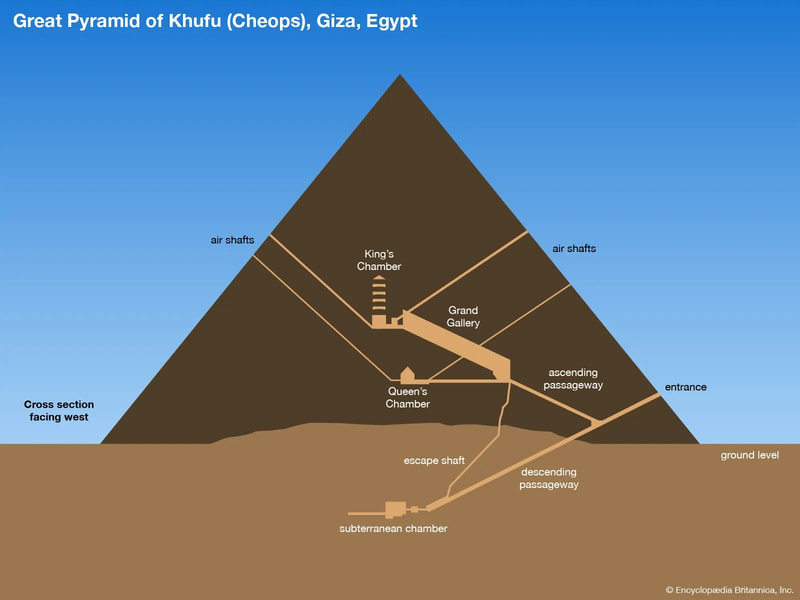
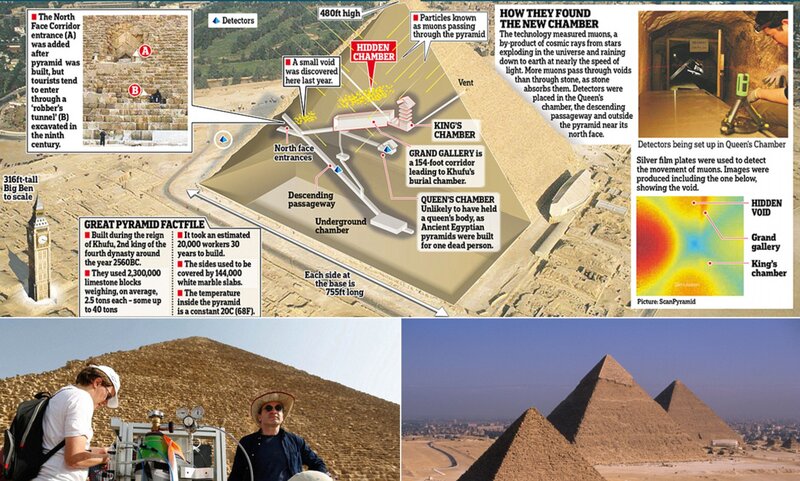
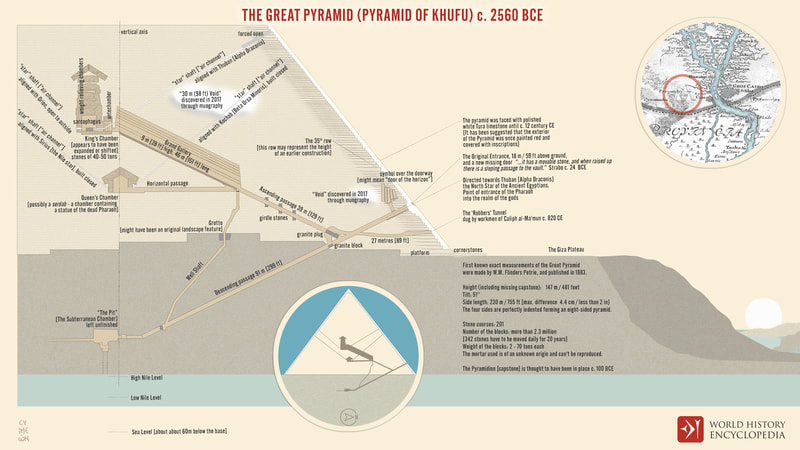
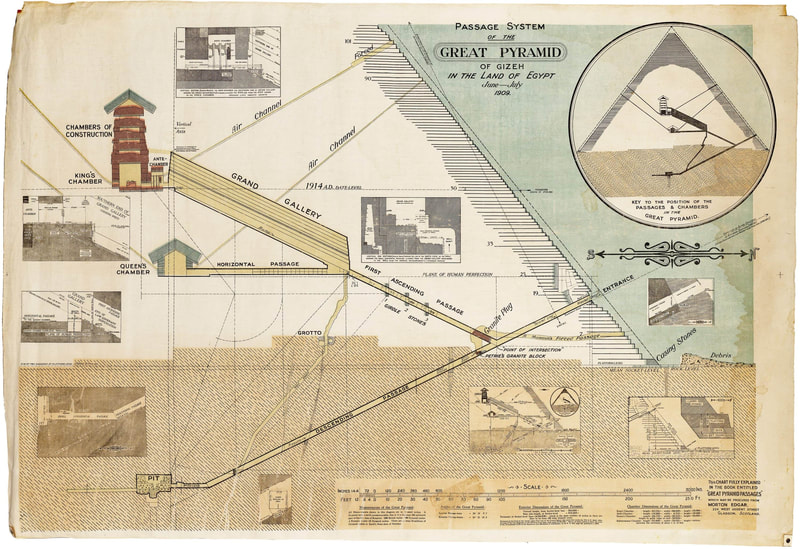
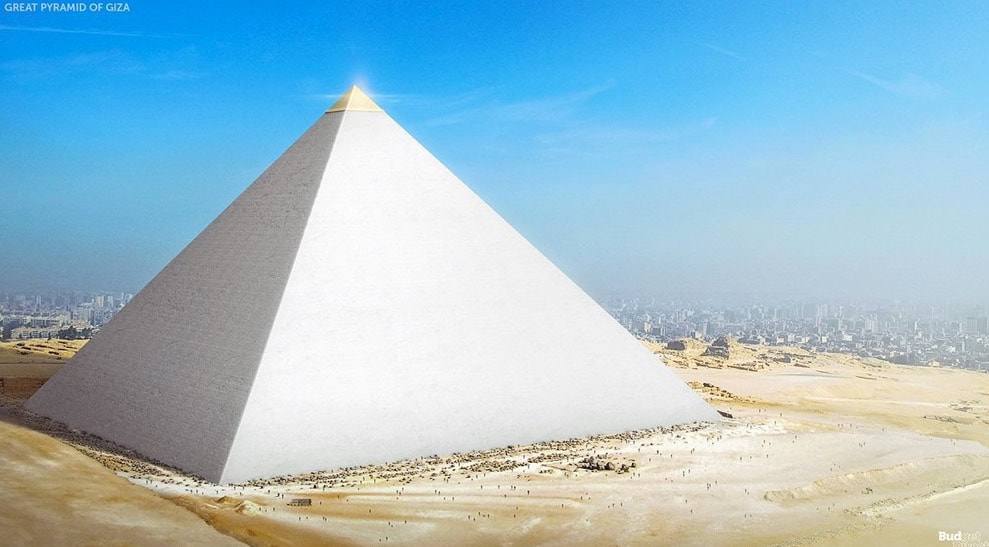
I thought it important that I looked first at how the pyramid stood today, in order to compare to reconstructions and put the building process into context. I sourced a lot of the above images from sites/articles like The Smithsonian, National Geographic and touring organisations; there are some excellent shots of the interior, including the Grand Gallery and King/Queen Chambers, as well as some useful references of the surrounding plateau.
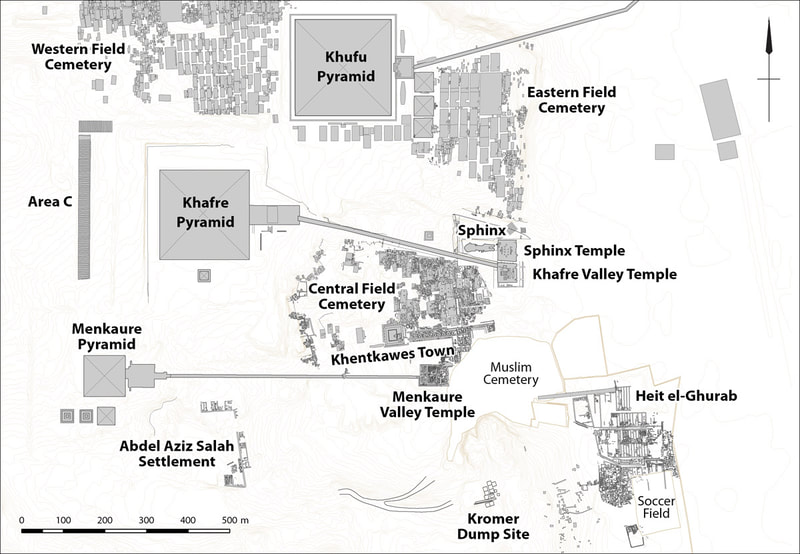
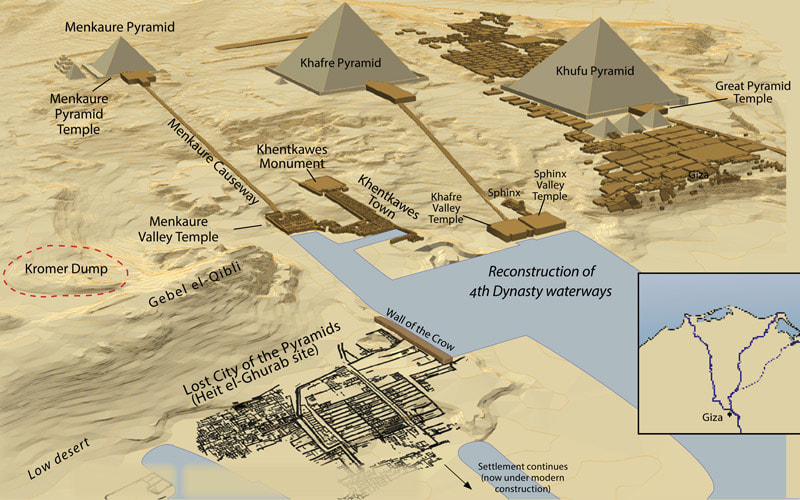
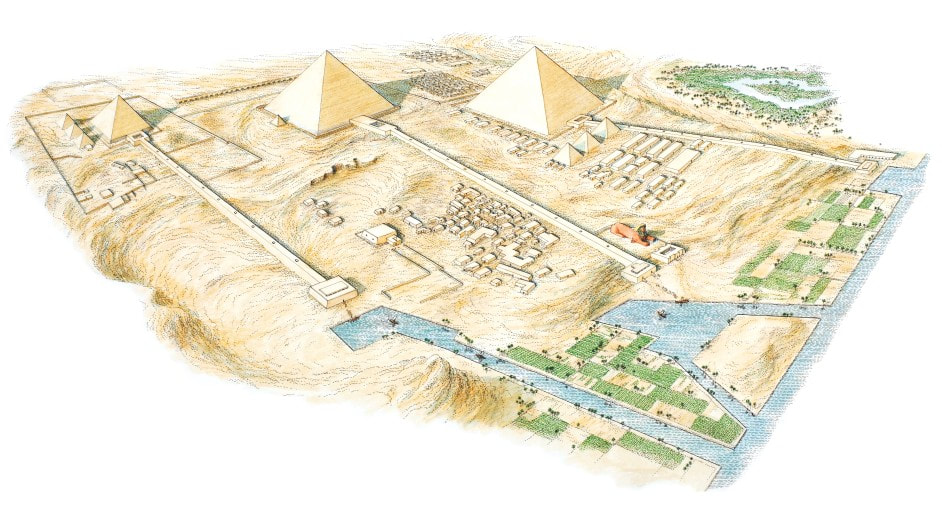
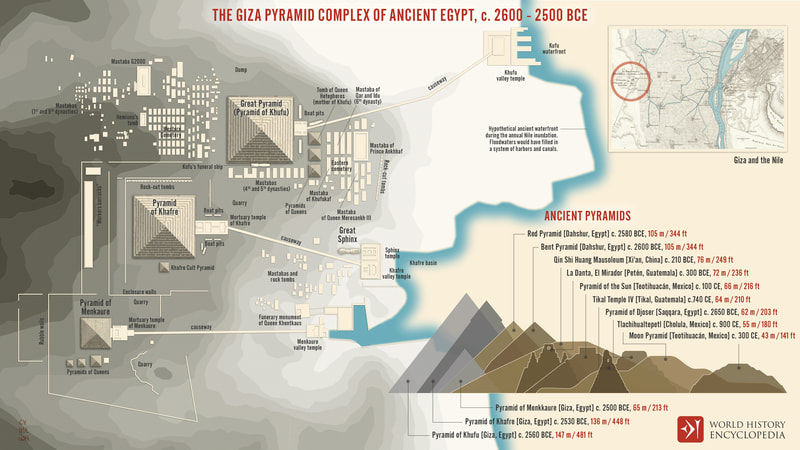
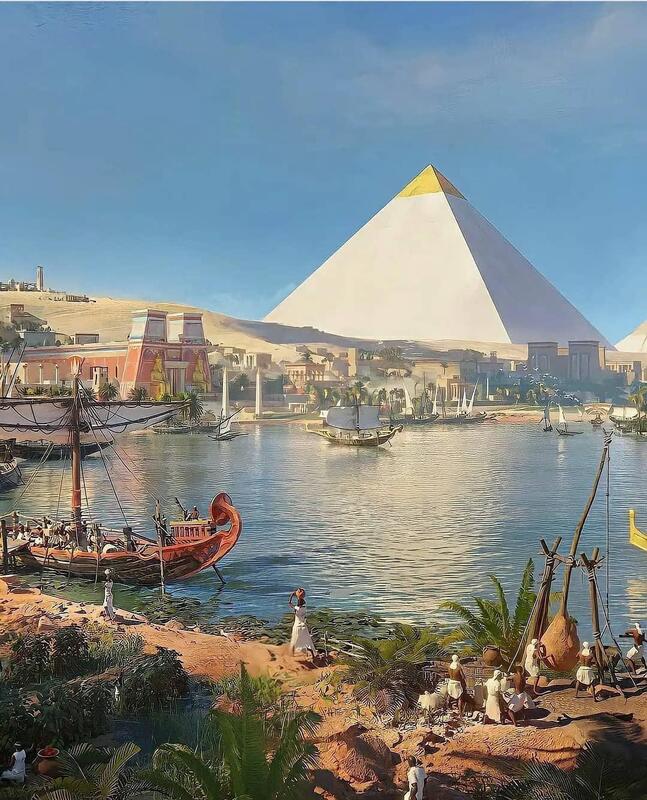
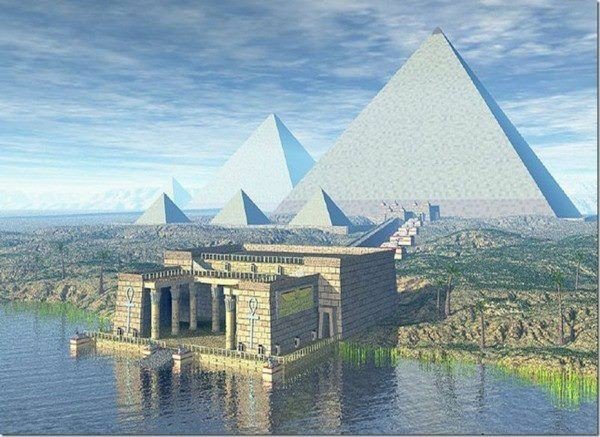
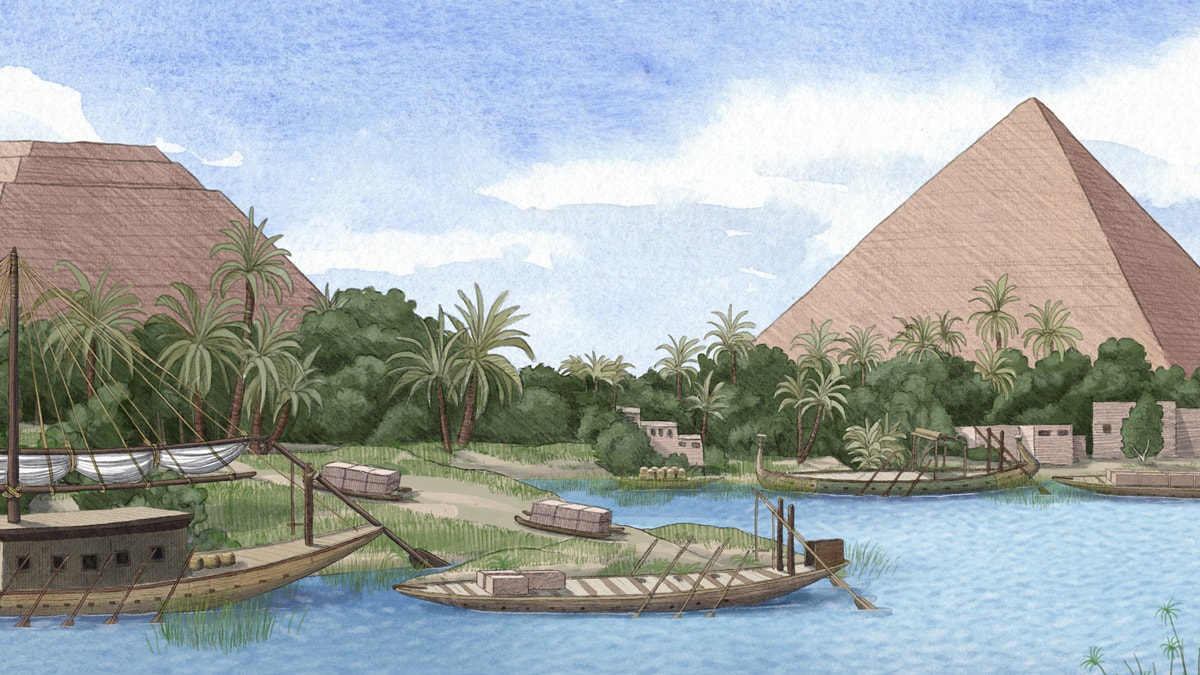
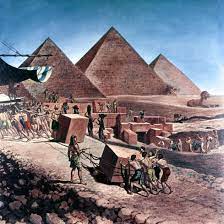
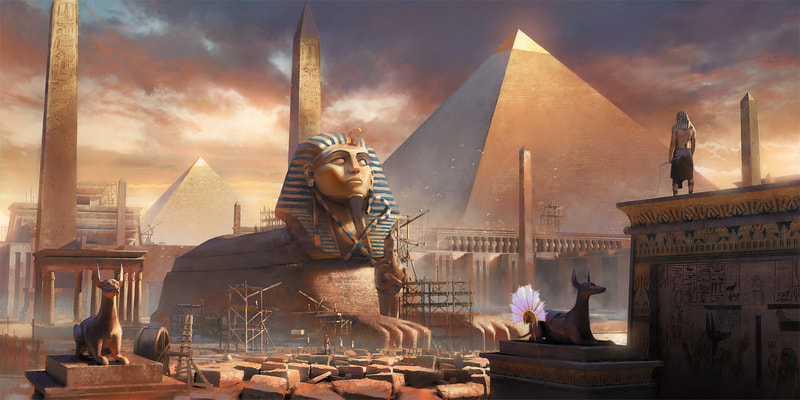
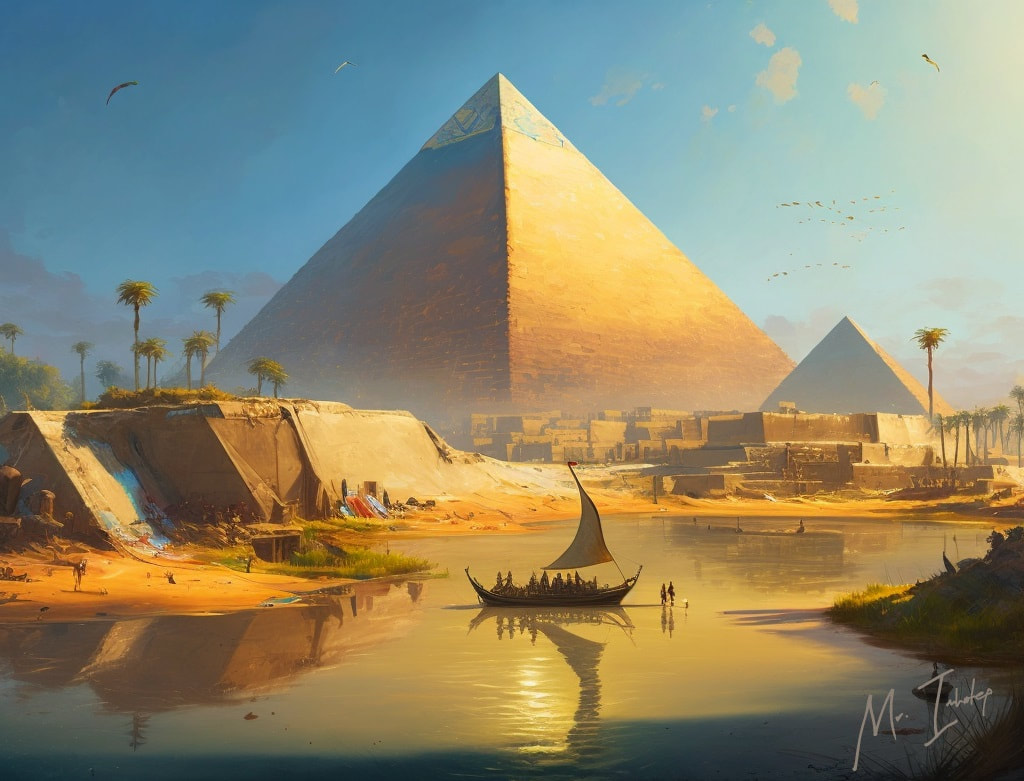
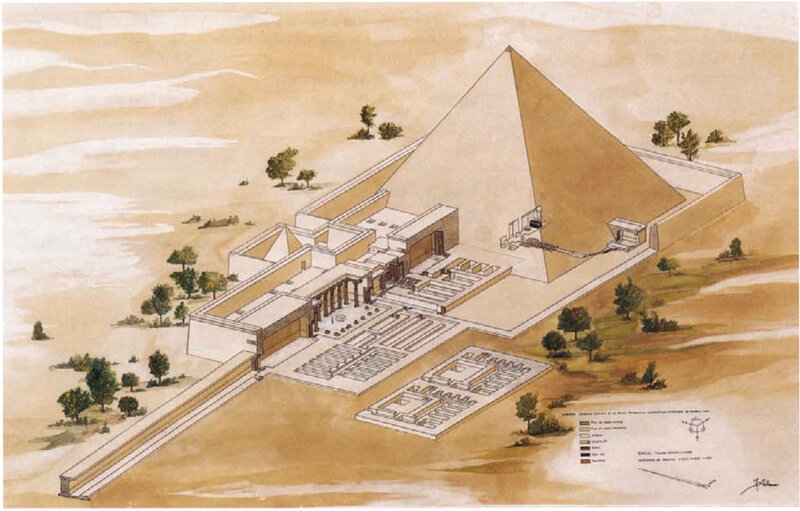
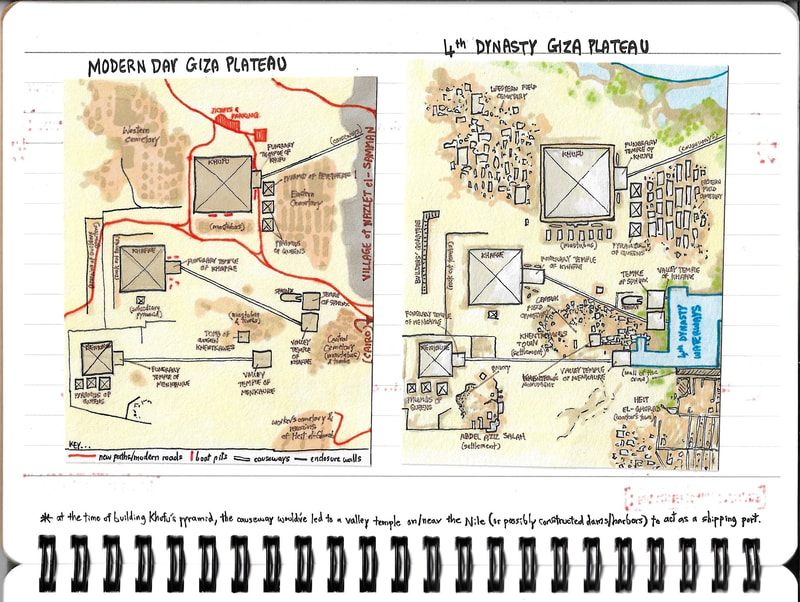
Then came the history of the pyramid and its construction. I searched for diagrams of the Great Pyramid and the Giza Plateau to help me understand their structure and layout (both now, and at the time of building). I found a lot of the reconstructed 4th Dynasty maps and plateau diagrams very useful. To keep the ideas creative as well as scientifically accurate in my head, I also looked at some artists' reconstructions of how the building process may have looked 4500 years ago.
The context definitely helped give my working a background, but the crux of the research ultimately came down to the methods by which the Great Pyramid itself was physically constructed - how it was built. As far as I understand it, we're actually unsure of some parts of that answer to this day. The majority of solutions I did find were not definitive, but best guesses and prevailing theories which themselves have evolved considerably over time. Still, the brief required an explanation of some sort, so I figured it might be best to break the process down into parts and give what appeared to be the "most plausible theory" for each area... otherwise, I'd be illustrating countless different theories.
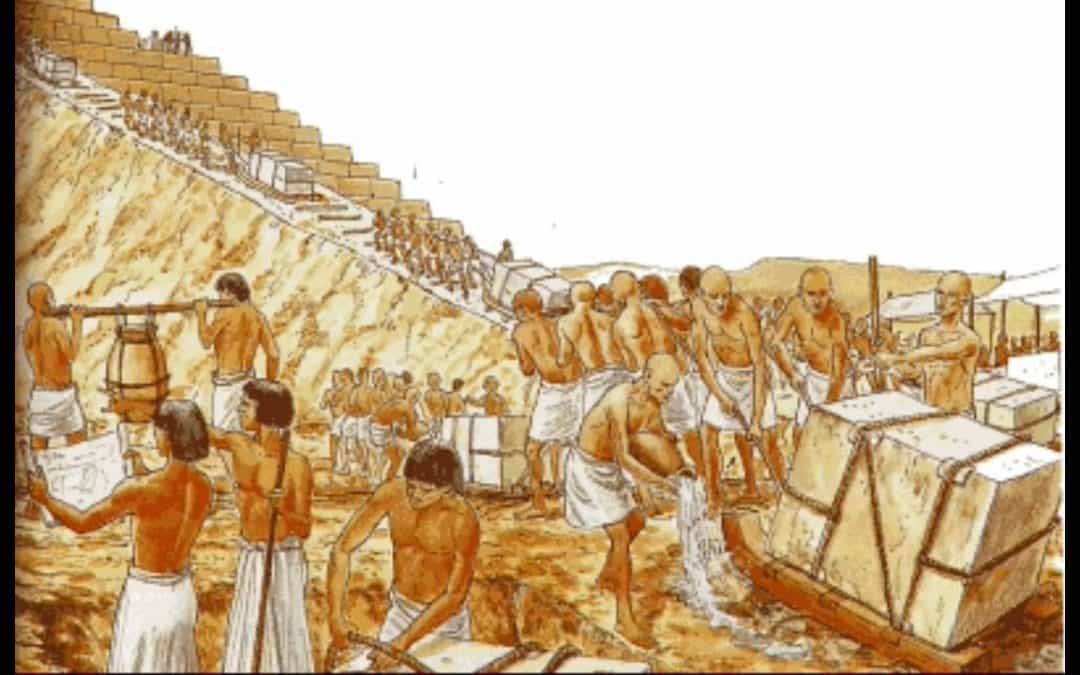
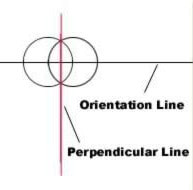
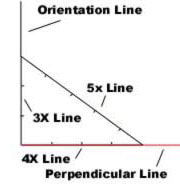
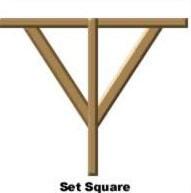
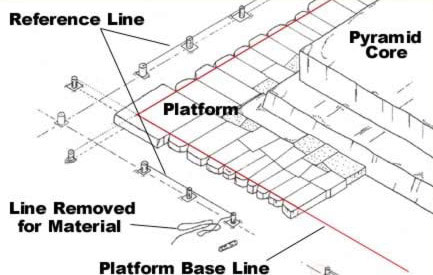
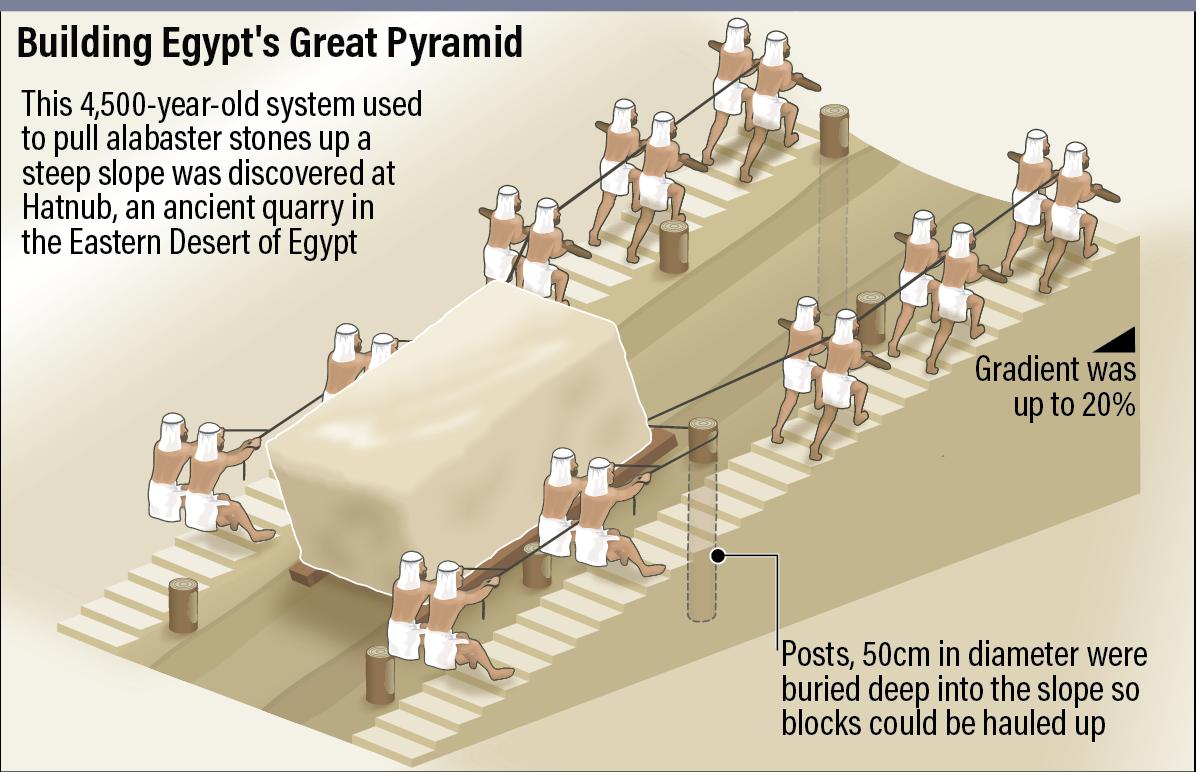
I made folders for different "groups" of reference pictures pertaining to different parts of the process - note the images directly above (on the alignment/orientation of the pyramid) and below (on transport of blocks up the pyramid during building). I researched until I could understand the process in a way I could work with, and in a way I could split up as required.
I made folders for different "groups" of reference pictures pertaining to different parts of the process - note the images directly above (on the alignment/orientation of the pyramid) and below (on transport of blocks up the pyramid during building). I researched until I could understand the process in a way I could work with, and in a way I could split up as required.
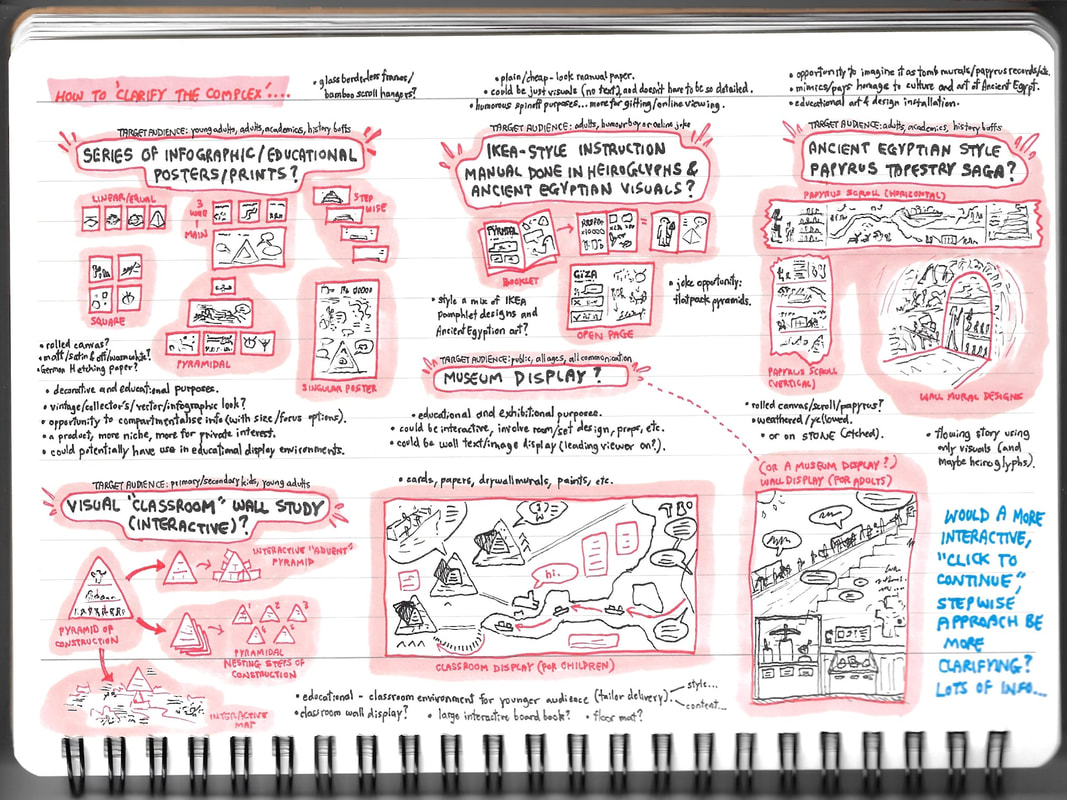
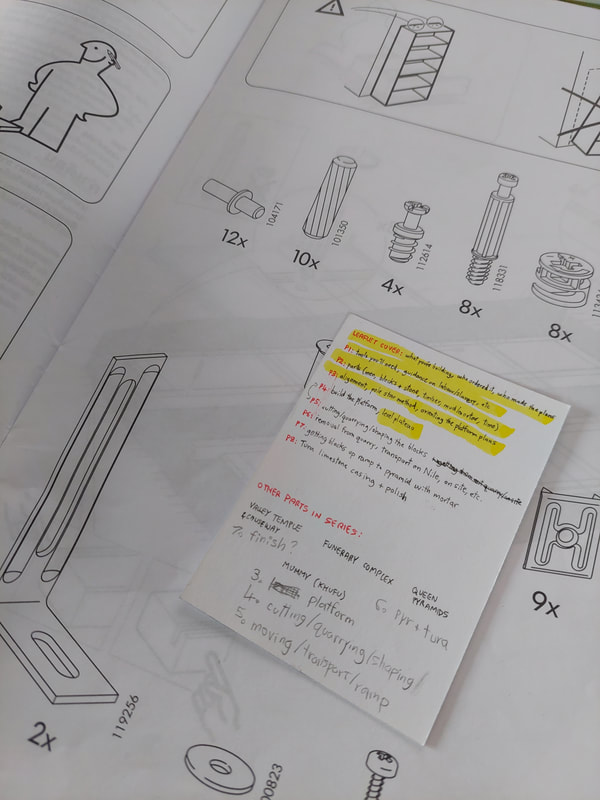
My notes on this were quite extensive, as you can see below, and contain a lot of sketchy visuals I used to clarify things for myself before clarifying them for anyone else. This has always been the way I've worked since I discovered it midway through secondary school - I don't seem to retain information too well unless I've been able to "paraphrase" it in my own format, so making these diagrams was essential in developing the understanding I needed for my final piece.
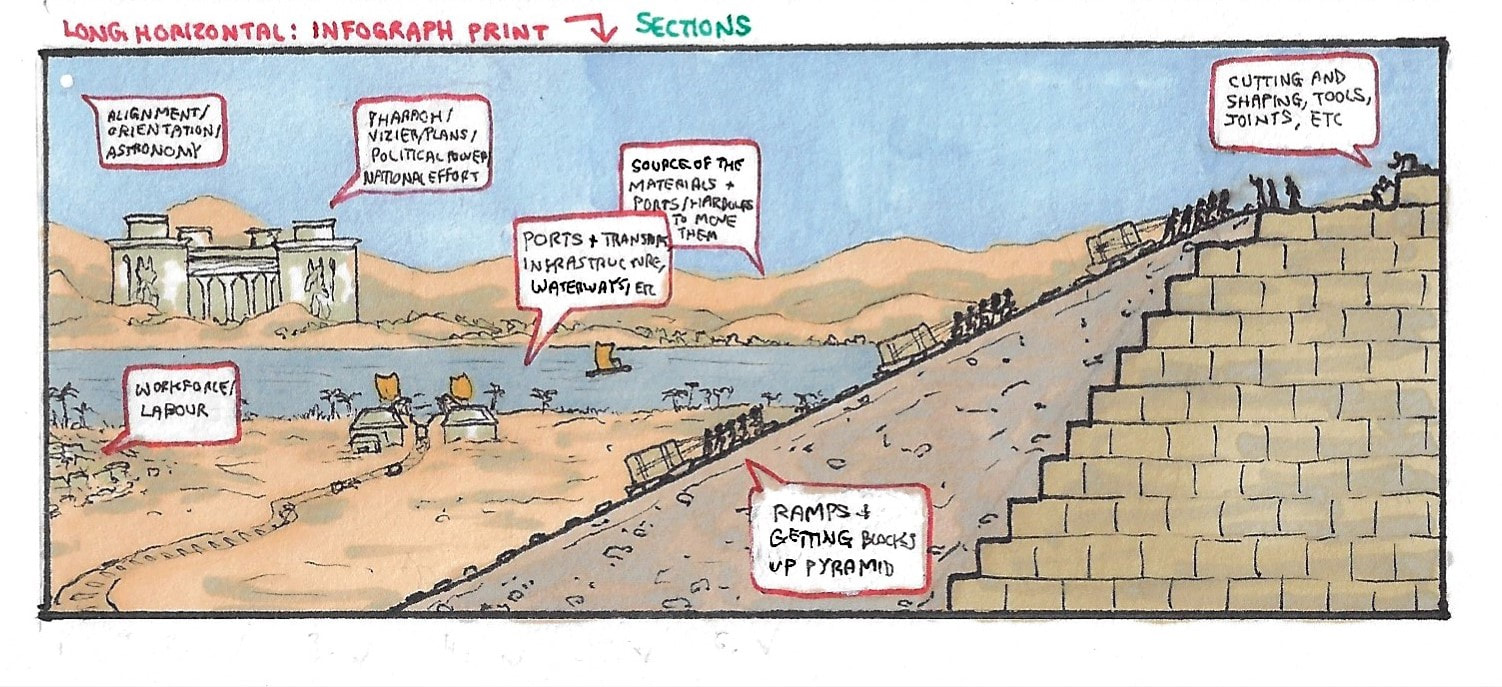
Long story short, here's how I broke the process down:
The above bullets could be thought of as steps, or separate elements of the project that had to exist simultaneously for it to come together. I also thought it useful to break things down in terms of the key elements of the process which, as far as I understood it, included:
This was a pretty lengthy process, but I genuinely don't think I'd have understood the process enough to illustrate it in any suitable format without it. Instead of a web of theories and overwhelming bits and bobs, I was now armed with an orderly list of points able to be utilised in step or element form.
Long story short, here's how I broke the process down:
- planning and organisation - the order was given by Pharaoh, and his vizier (royal architect appointed to oversee the project) produced plans. The nation would hear these orders in turn and prepare to contribute materials and labour; transport and utility infrastructure was implemented throughout Egypt and on the building site in terms of building ports, workers' towns, diverting the Nile into waterways, etc.
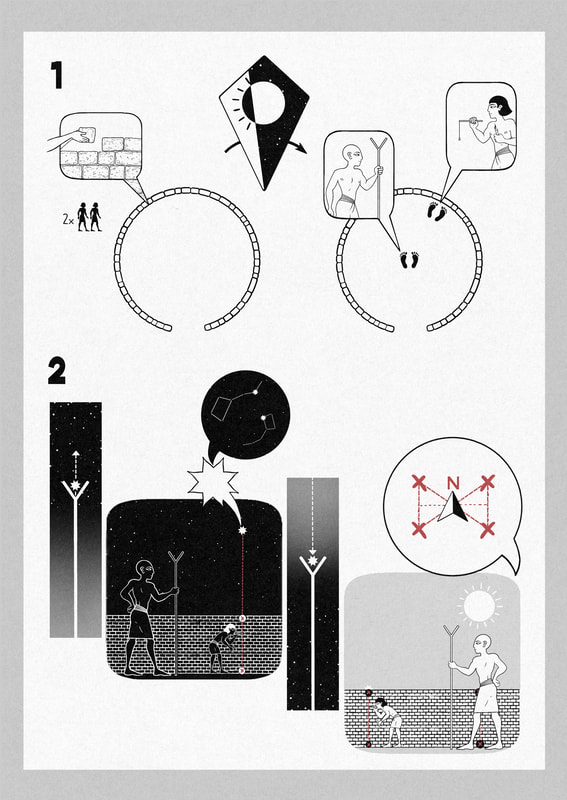
- orientation and alignment - the Giza plateau site was prepared by levelling the plateau, and a perfectly-level circular mudstone wall was built. Someone would stand in the centre of it with a sighting rod (split palm leaf), and another would stand on the inner perimeter of the wall with a merkhet (an ancient star-tracking tool). Two pole stars known to circle the north pole (Kochab and Mizar, at the time of the 4th Dynasty) were tracked as they rose and fell over the course of an earthly turn. As the first person would sight the star rising/falling the second would mark the top and bottom of the wall, producing a total of four marks by the end of the process - the point of intersection between these marks would indicate True North.
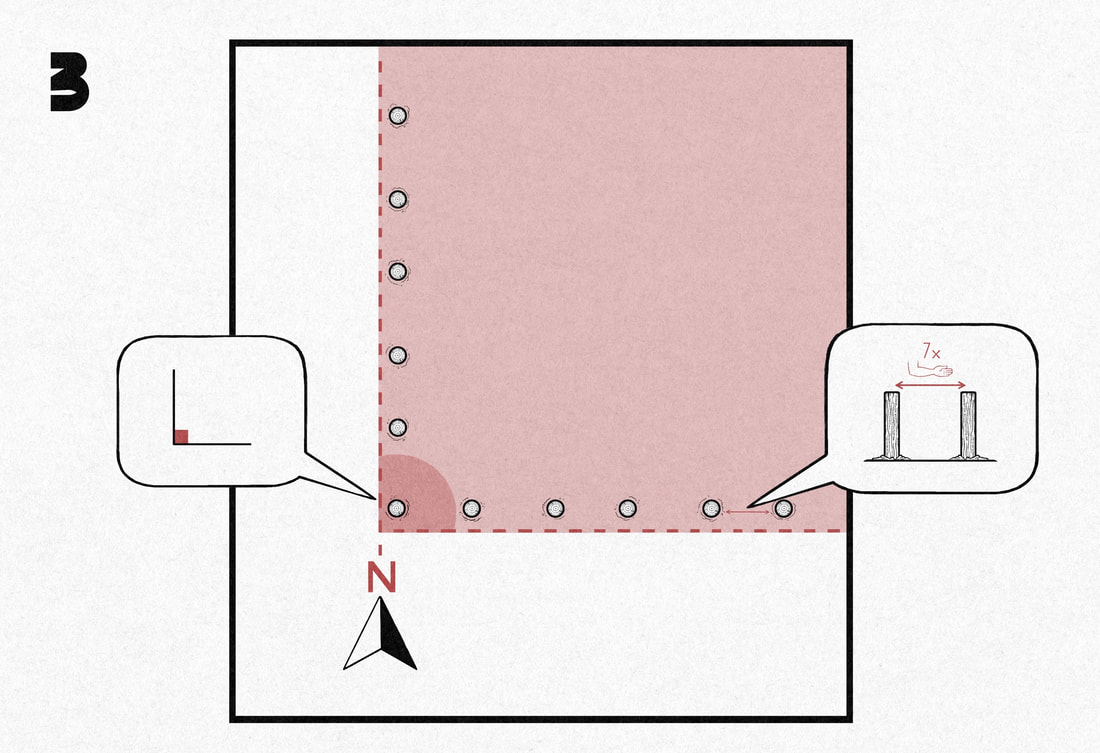
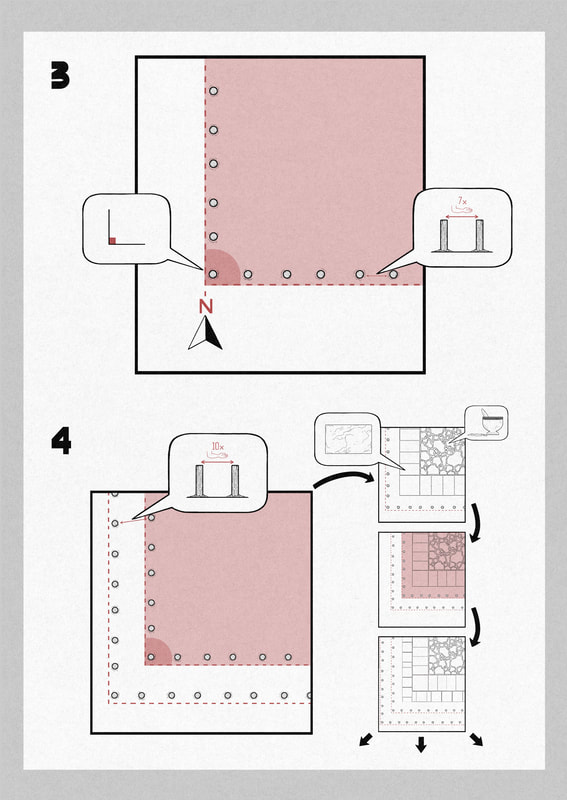
- building the platform - a reference line was constructed along True North and used to lay out the base plan, by marking a true square using set-squares and likely a form of Pythagoras. The platform was then extended carefully from the centre outwards; the perfect square was kept by making precise measurements (the national unit was the royal cubit) and employing the use of wooden posts and rope as markers.
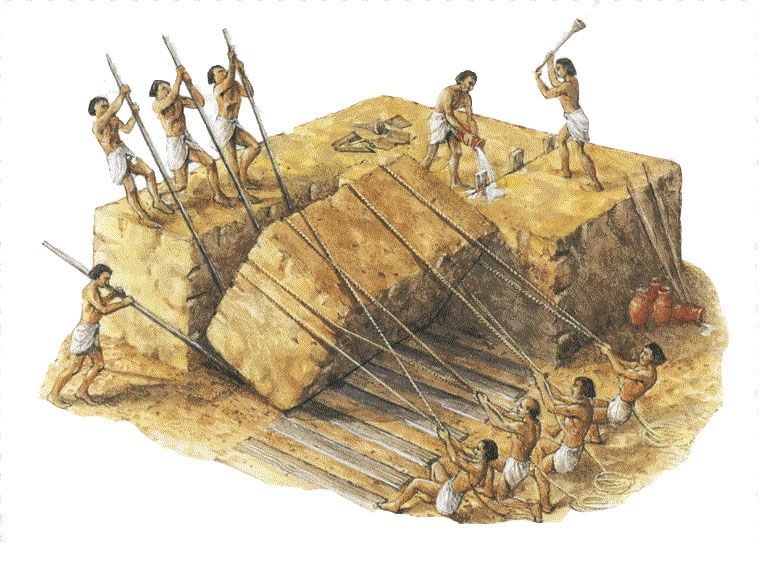
- materials/tools, and preparing the blocks - material was sourced from far and wide, including limestone (for the pyramid blocks), granite (for the interior) and copper and timber (for tools). Stone was quarried by hammering copper chisels into its natural cleavage to segregate an obelisk, and using soaked wooden wedges to split it free before rocking it loose entirely. Instead of lifting the block vertically out of the quarry, a channel would be dug through the rock and it would be pulled along on sledges/rollers. These blocks would then be precisely shaped using tools such as chisels, pickaxes, mallets and saws before being transported to site (often via boat on the Nile).
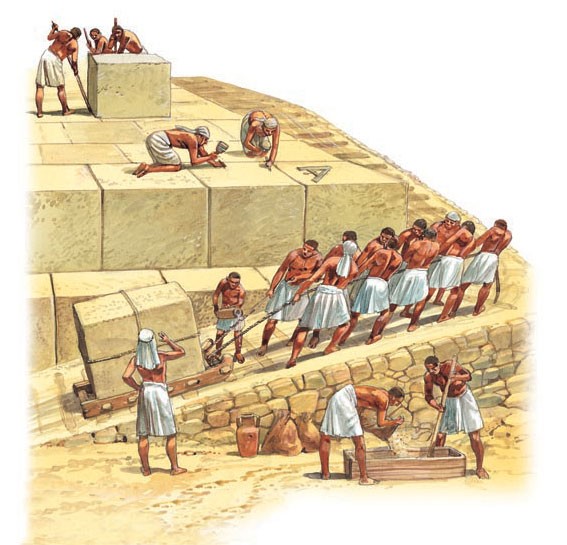
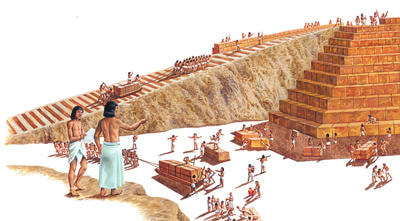
- getting the blocks up the pyramid - to move the blocks into place up the faces of the pyramid, it is highly likely a ramp system was used. Though we aren't sure what form or shape this ramp system took, there is archaeological evidence to suggest how it may have worked. It was thought to be build from mud, rubble and sand packed into a solid slope on which wooden rollers would have been laid. The blocks would have been pulled uphill on wooden sledges atop these rollers - evidence of post holes on either side of ramp remnants suggest that a pulley system was used to aid teams of workers pulling the blocks. This, in possible conjunction with "greasing" the ground/block with water or animal fats to ease movement, allowed these teams to pull extremely heavy weights up steep inclines.
The above bullets could be thought of as steps, or separate elements of the project that had to exist simultaneously for it to come together. I also thought it useful to break things down in terms of the key elements of the process which, as far as I understood it, included:
- (Pharaoh's) political power over (Ancient Egypt's) advanced society to organise a national project.
- the knowledge of astronomy, and the ability to use it to locate cardinal points for alignment.
- the availability of materials and supplies, and the social/transportation infrastructure to acquire them.
- a strong, skilled and healthy workforce of between 10000-20000 (NOT slaves).
- skill and precision required to craft tools, and make such fine cuts/joints in the masonry.
This was a pretty lengthy process, but I genuinely don't think I'd have understood the process enough to illustrate it in any suitable format without it. Instead of a web of theories and overwhelming bits and bobs, I was now armed with an orderly list of points able to be utilised in step or element form.
Format, Layout & Style Decisions
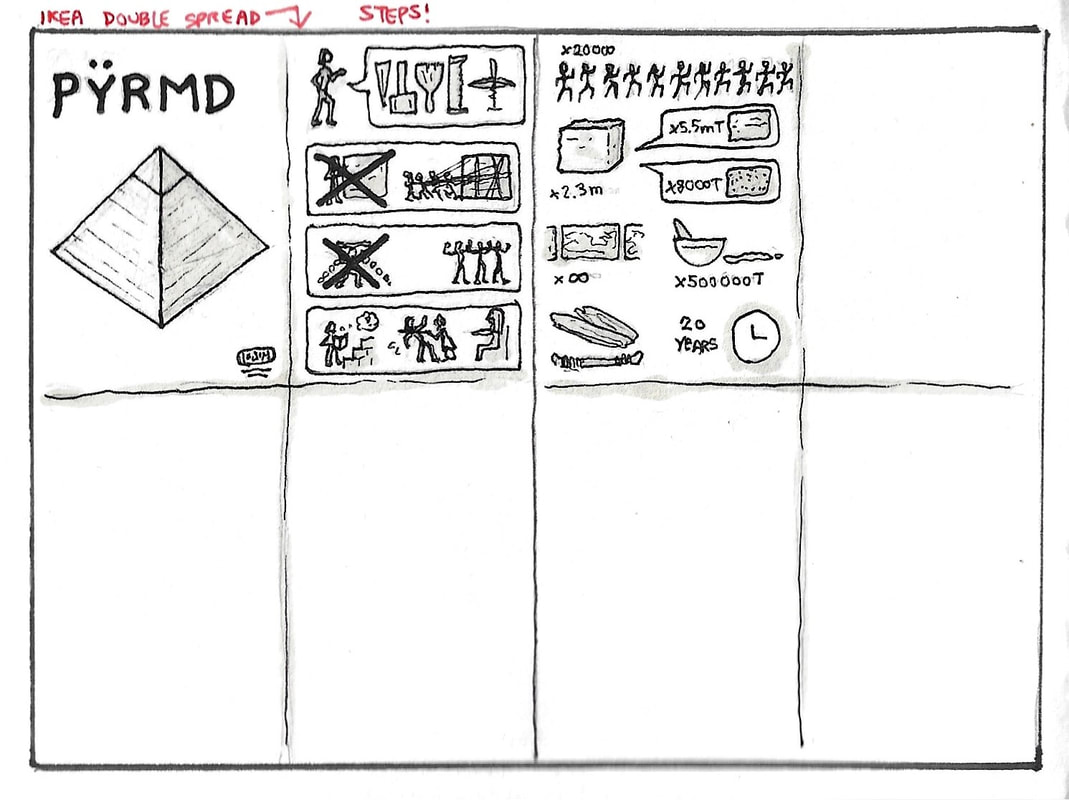
For quite a while I wasn't sure what the best route to take was. I noted down ideas and trialled little visuals to try and see what might suit best for clarifying this particular topic - how could I lay these points I'd isolated out clearly, and in what manner? The notes above (particularly the pinker page) show the initial format ideas I had for this project. These include concepts for a classroom wall display, a museum display, a single/set of infographic print/s, and an ancient Egypt style papyrus saga. For each of these, I considered target audience, purpose and placement, and what styles would be most appropriate. I sketched out a couple of ideas to try and get a feel for which idea was best.
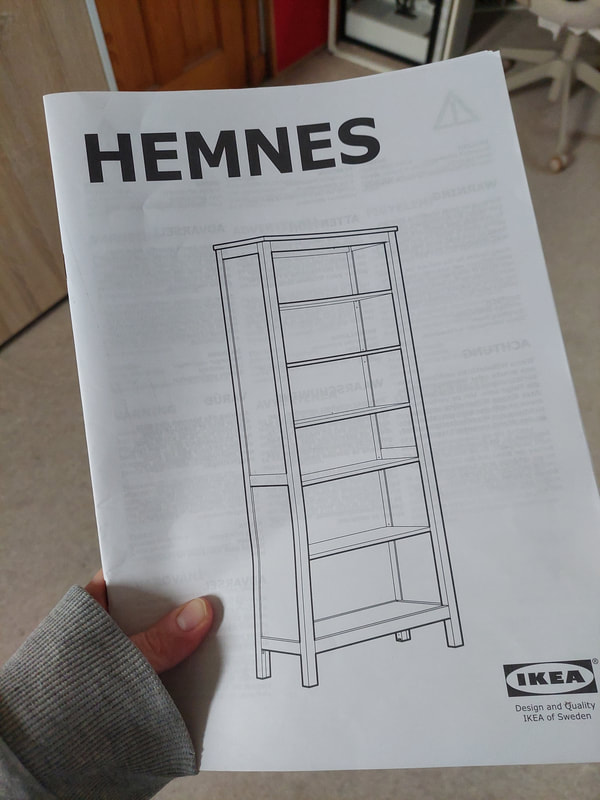
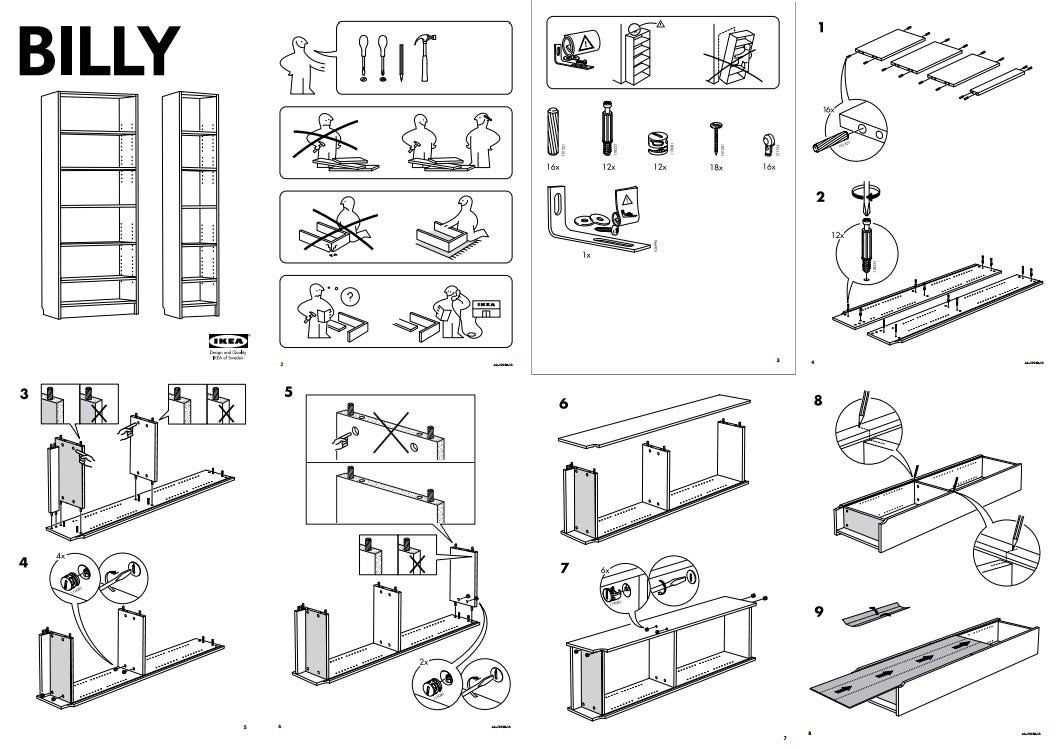
The idea that won was a bit of a curveball. I had initially joked to my partner about it, and had intended it as just that - a joke. But the more I thought about it, and the more I actually looked at them, the more I realised what subtle masterpieces of wordless instruction IKEA manuals are. That happy little man with pictorial steps, transcending language barriers and allowing anyone to build a BILLY bookcase or a HEMNES sideboard.
The points I'd laid out fitted rather nicely into this format, and the way I envisioned it seemed to meet the brief in terms of clarification... and so, what was initially going to be a poster-style infographic turned into an IKEA manual for the Great Pyramid of Giza.
The points I'd laid out fitted rather nicely into this format, and the way I envisioned it seemed to meet the brief in terms of clarification... and so, what was initially going to be a poster-style infographic turned into an IKEA manual for the Great Pyramid of Giza.
Development
I now had to plan the points I'd made earlier on the construction process into the format I'd chosen. This meant I'd largely be using them as stepwise points rather than elemental points - however, the first couple of pages of an IKEA manual are always safety tips and tools/materials, so that had scope to be a little elemental.
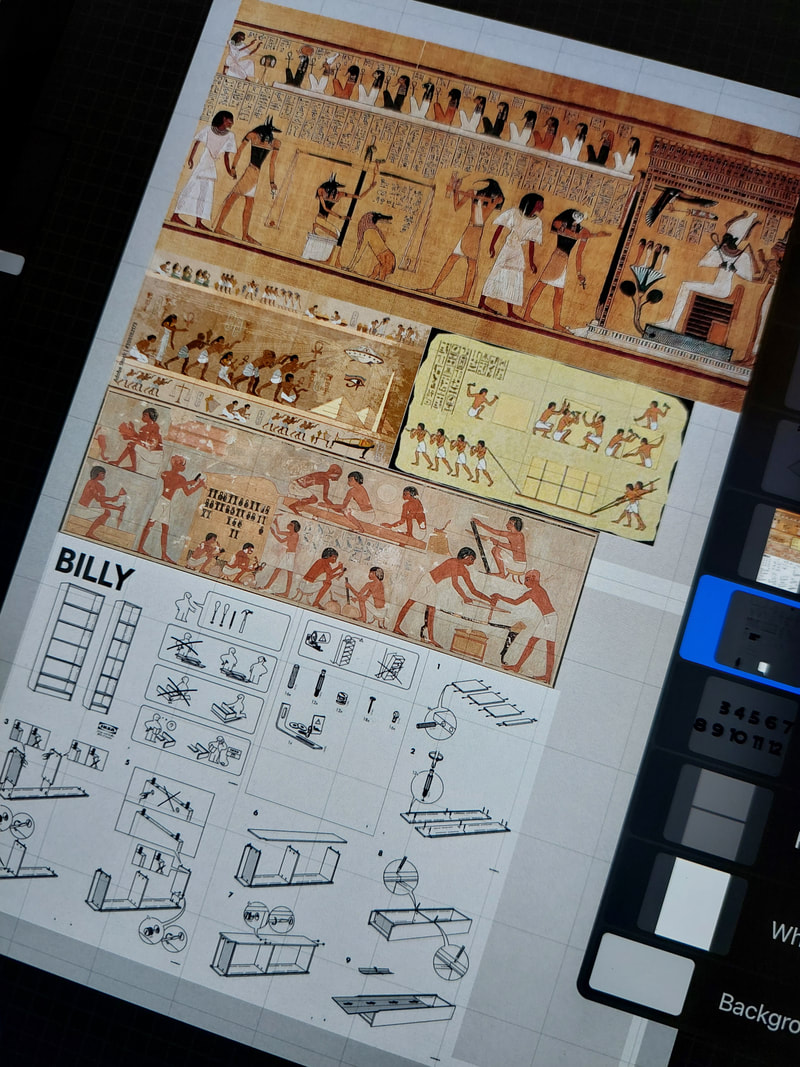
In terms of stylisation, I obviously wanted this to bear a strong resemblance to a bona fide IKEA manual, but I also needed something of a nod to the topic other than the instructions themselves. I'd had the idea from the beginning to replace the IKEA man with an ancient Egyptian labourer drawn in the culture's unmistakeable two-dimensional style, and this is what I stuck with. I gathered a lot of reference images of tomb paintings, hieroglyphic murals and ancient Egyptian art in general to help me understand how different poses/actions were commonly depicted.
In terms of stylisation, I obviously wanted this to bear a strong resemblance to a bona fide IKEA manual, but I also needed something of a nod to the topic other than the instructions themselves. I'd had the idea from the beginning to replace the IKEA man with an ancient Egyptian labourer drawn in the culture's unmistakeable two-dimensional style, and this is what I stuck with. I gathered a lot of reference images of tomb paintings, hieroglyphic murals and ancient Egyptian art in general to help me understand how different poses/actions were commonly depicted.
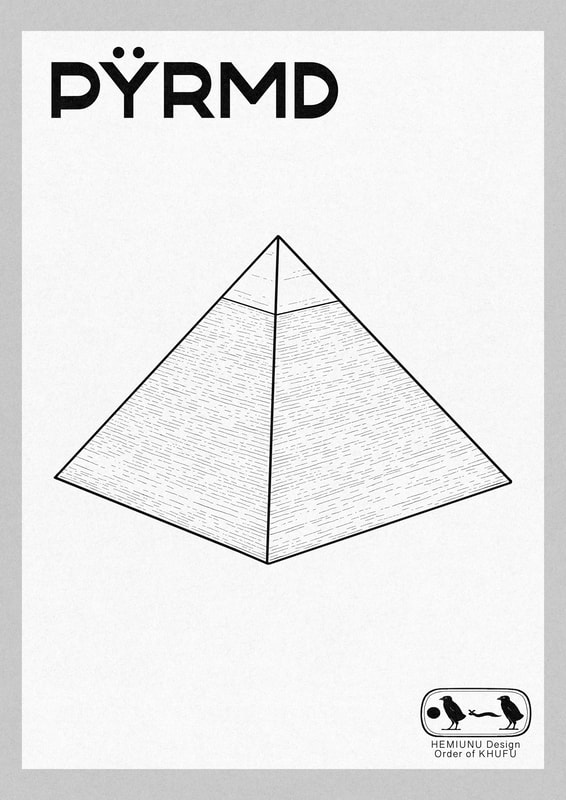
After laying out my page template to size and applying as close a texture match to the real thing, I set about creating the cover of the manual first. I stuck to the simplistic style of IKEA's illustrations, which fitted quite well given how geometric and technical instructions for building a pyramid would be. For the title, I located and installed the IKEA typeface used in their booklets, and thought of an appropriately Swedish name for an ancient Egyptian piece of architecture.
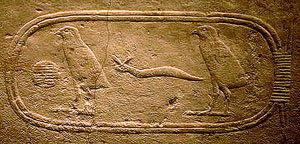
I also took the opportunity on the title page to add a little extra clarification. I did this by replacing the IKEA logo usually at the bottom right of the leaflet with a stylised plaque I'd illustrated of Pharaoh Khufu's hieroglyphic name; beneath this, where "Design and Quality, IKEA of Sweden" would normally be, I wrote "HEMIUNU Design, Order of KHUFU". The idea here was to cover the political power and organisation elements of the pyramid's construction in a way that suited the format - Khufu was the Pharaoh it was built for, and Hemiunu was the name of his vizier.
I've compared a genuine IKEA example with my illustrated take in the slideshow below.
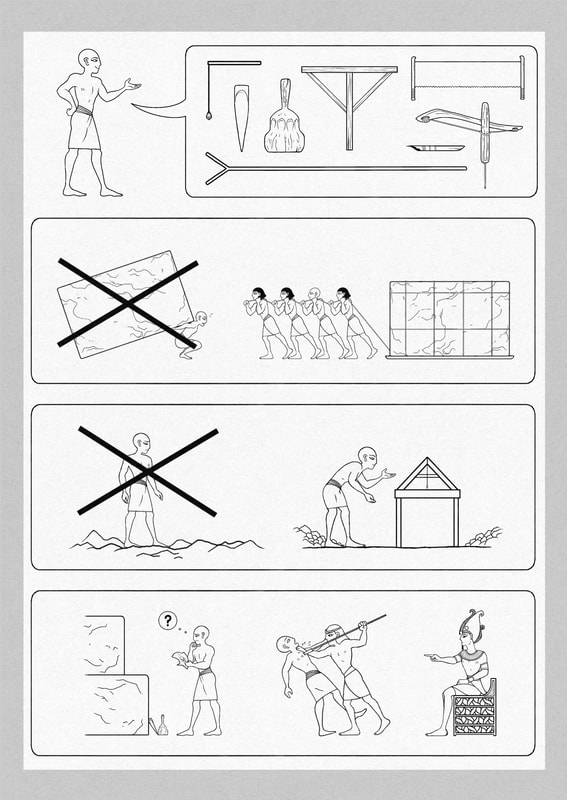
I had a lot of fun in the first two pages. Page one in particular was my favourite, as I had to try and figure out how to "mimic" the safety instructions whilst conveying details of the construction process at the same time. I actually went through each of the safety tips in the reference example and read them aloud as I'd understood them on the page, and then "translated" that into PYRMD instructions. So:
Again, the slideshow below shows the comparison.
- "You'll need: a flathead and a star screwdriver" became "You'll need a merkhet, a set-square, a sighting rod, a reed brush, a wooden mallet, a copper chisel, a copper saw and a drillbow".
- "Don't build this alone; you'll need two people" became "don't build this alone; you'll need teams of labourers".
- "Don't build this on a hard surface; build on a carpet" became "don't build this on an uneven surface; level the plateau first".
- and "don't be stuck; call IKEA for help" became "don't be stuck, or the Pharaoh will have you executed".
Again, the slideshow below shows the comparison.
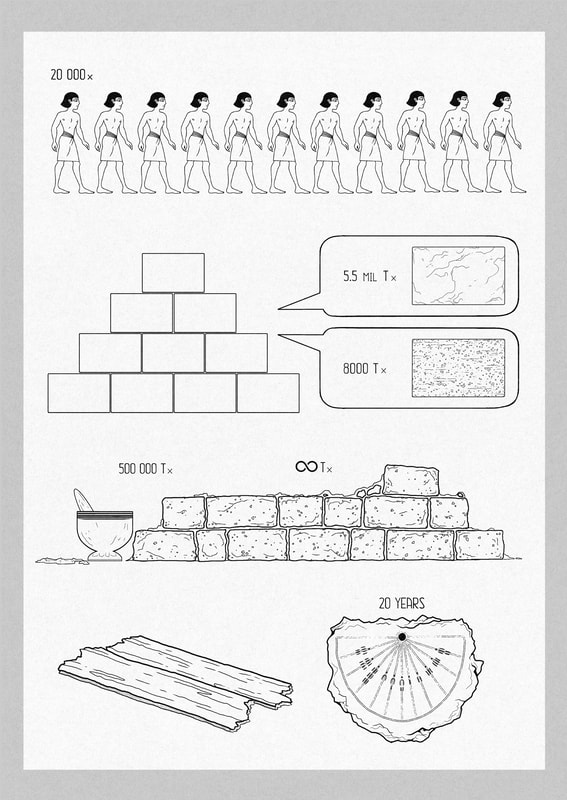
The materials page was quite self-explanatory, but allowed me to cover the materials and workforce needed to build the pyramid easily in pictorial form. I had planned for the limestone and granite blocks to have "product codes", referring to an index at the end of the manual which would list them as such, but I never got round to this. I also used this page to add in a "time taken" element, as I felt it important to note the whole process took almost two decades - instead of a clock, I tried to keep to the timeline and used an ancient Egyptian sundial instead of a modern clock. And, to keep the main main separate from the rest, I gave the rest hair.
Again, see the slideshow below for comparison.
Again, see the slideshow below for comparison.
The instruction pages were more complicated to put together in a way that remained comprehensive. Where the IKEA manuals remain solely black and white throughout, I found I had to employ the use of red to get my point across in some parts. Otherwise, I tried to stick to signage, placement and the use of inverse tone to convey what I was on about.
Final Outcome
Unfortunately by the deadline, I'd only gotten halfway through what I'd estimated to be a booklet of about 8 pages. I had felt confident about where it was going and had a clear visual in my mind's eye, so I'm disappointed I didn't manage to finish it in time. But it was an enjoyable project - I felt I gained a better grasp of illustrating something in both a non-verbal and instructional manner, hopefully clarifying the complex for a universal audience, and also got to employ a bit of humour.
I've included the pages I managed to complete below.
I've included the pages I managed to complete below.
Site powered by Weebly. Managed by 34SP.com


